
 Pin
Pin
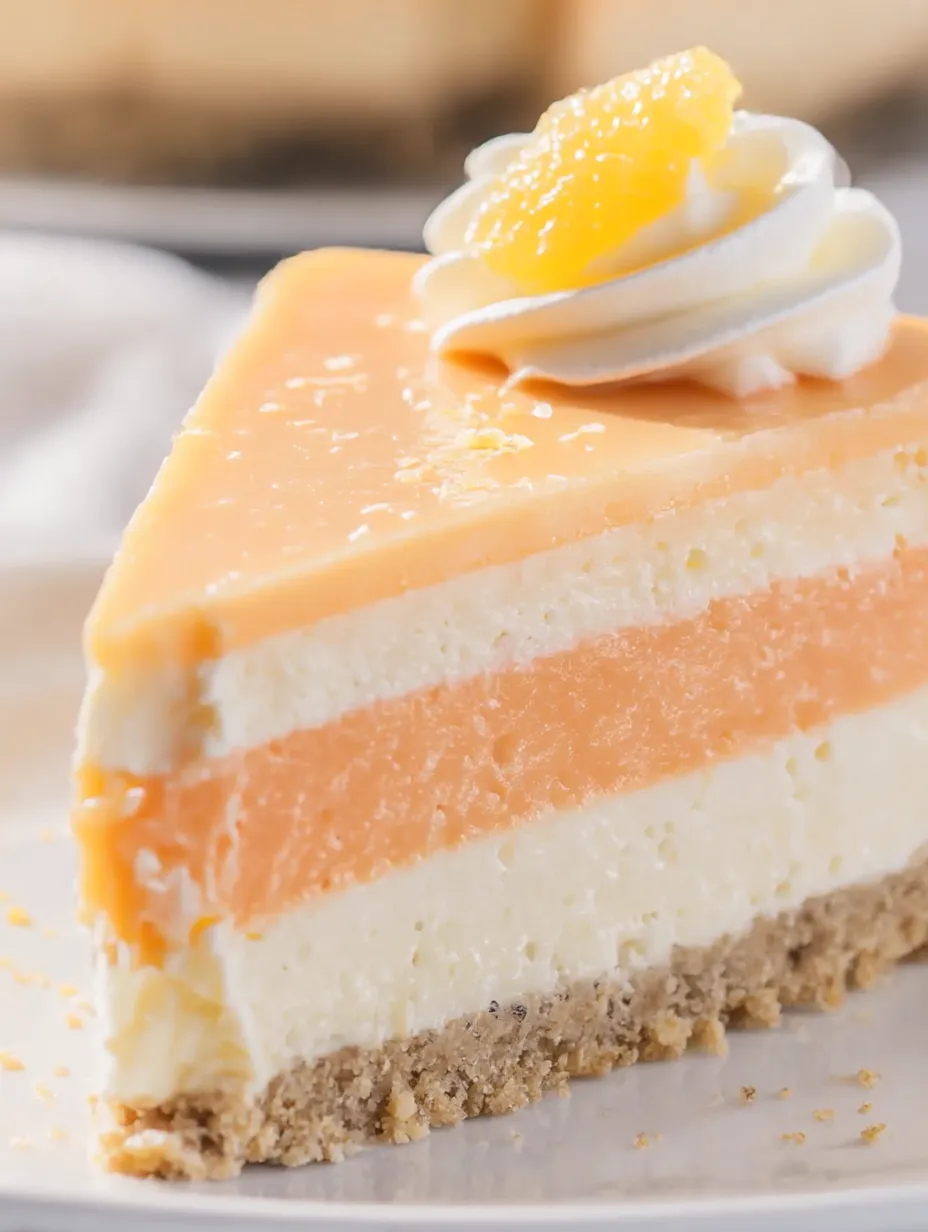
This bright and dreamy no bake orange creamsicle cheesecake delivers all the nostalgic flavors of your favorite childhood popsicle in creamy, sliceable form — no oven or water bath required The creamy layers are light but rich with a citrusy zing and the crust tastes just like buttery vanilla cookies Every time I make this someone asks me for the recipe right after their first forkful
I first made this for a summer birthday when the house was just too hot to turn on the oven Now it is everyone’s favorite request for barbecues and celebrations It disappears quickly every time
Ingredients
- Vanilla wafers: give the crust sweetness and classic taste Crush them for fine crumbs and choose a buttery brand for best results
- Granulated sugar: brings structure and sweetness to both the crust and cheesecake layer Look for bright white sugar for best color
- Unsalted butter: binds the cookie crust and adds richness Melt it fully for an even press
- Heavy cream: is the secret to an ultra fluffy cheesecake Use the freshest you can find and keep it very cold before whipping
- Clear vanilla flavoring: lets the orange shine while still boosting dessert flavor Choose clear if you want the layers bright
- Powdered sugar: sweetens the whipped cream perfectly and keeps it smooth Sift it if you see clumps
- Orange flavored jello: makes the orange layer set up easily and brings that creamsicle nostalgia Look for jello with a punchy orange color
- Fresh orange zest: goes straight into the jello layer giving bright citrus zing Always zest on a fine grater and use unwaxed oranges if possible
- Cream cheese: gives the cake its signature tang and body Make sure it is softened to avoid lumps in your final product
Step-by-Step Instructions
- Prepare the Crust:
- Spray a nine inch springform pan generously with nonstick spray Mix the finely crushed vanilla wafers granulated sugar and melted butter in a bowl Use your hands or a spatula to combine until it looks like wet sand Firmly press the mixture into the bottom of your pan going all the way out to the edges Freeze the crust to help it set while you prepare the rest
- Whip the Cream:
- Add cold heavy cream clear vanilla and powdered sugar to the bowl of your stand mixer or use a handheld mixer Start on low then turn up to high and beat until stiff peaks form This can take about two to four minutes Stop and check often to avoid overmixing Divide the whipped cream evenly between two bowls
- Make the Orange Jello Layer:
- In a small bowl combine boiling water orange jello and orange zest Stir until everything is dissolved and smooth Allow this to cool to room temperature so the cream will not melt when added Once cooled gently fold in half the whipped cream mixture Save half a cup of this jello cream for swirling in the cake
- Prepare the Cheesecake Layer:
- Beat softened cream cheese in a medium bowl with a handheld mixer for one and a half minutes Lower the speed then add granulated sugar and clear vanilla Beat until perfectly smooth scraping the sides often Fold in half of the remaining whipped cream until just combined Set aside three quarters of a cup of this cheesecake mixture for swirling
- Assemble the Cake:
- Take the crust from the freezer and spread the cheesecake layer evenly over the base except for the reserved swirl portion
Use a small spoon to dot spoonfuls of the reserved orange cream mixture on top of the cheesecake layer
Drag a fork gently through the orange cream dots to create swirls
Spread the reserved cheesecake mixture evenly over the swirls for contrast
Top with the remaining orange cream mixture spreading carefully to the edges
Chill the assembled cake in the refrigerator for at least six hours or overnight to fully set
Once set run a sharp knife carefully along the inside edge of the pan before removing to help release the cake cleanly
 Pin
Pin
A single slice brings me straight back to every orange creamsicle after school treat but spinning it into a creamy cake feels extra special I always double the orange zest because I love that pop of true citrus across the creamy layers
Storage Tips
Keep this cheesecake covered tightly in the refrigerator for up to four days The texture stays best for the first two days so I plan to serve it in that window For longer storage slice the cake and freeze individual slices Wrapped well they stay delicious for up to one month Just thaw in the fridge before serving
Ingredient Substitutions
If you do not have vanilla wafers substitute graham crackers or shortbread cookies for the crust For a tangy twist swap half of the orange jello for lemon or use Meyer lemon zest instead of regular orange
Clear vanilla is ideal for color but regular vanilla extract works just fine
No orange flavored jello Try using orange juice concentrate dissolved in plain gelatin plus extra zest though the texture will be slightly different
Serving Suggestions
Serve slices chilled straight from the fridge for the most refreshing bite Garnish with extra whipped cream a sprinkle of fresh orange zest or a twist of orange peel Some like a drizzle of white chocolate for extra flair This cake works beautifully on a summer dessert table or as a make ahead showstopper for any celebration
Cultural and Historical Context
The creamsicle flavor comes from the famous frozen popsicle with a bright orange shell and creamy vanilla center first appearing in the early 20th century Reimagining those flavors in a cheesecake has become a nostalgic treat at family gatherings and celebrations everywhere The no bake style also became popular in American home kitchens in the 1970s when convenience and make ahead menus were on the rise
Recipe FAQs
- → What makes the orange flavor stand out in this cake?
Fresh orange zest added to the jello layer gives a vibrant citrus taste that brightens every bite.
- → Can I use a different crust instead of vanilla wafers?
Absolutely. Graham crackers or shortbread cookies can be substituted for a similar texture and flavor.
- → How do I prevent lumps in the creamy layers?
Be sure your cream cheese is at room temperature before mixing. It blends smoother and results in a silkier filling.
- → What is the best way to swirl the orange layer with the cheesecake layer?
Use a spoon to dollop reserved orange cream on top of the cheesecake, then gently swirl with a fork for a marbled effect.
- → How long should the cake chill before serving?
Chill the assembled cake for at least six hours, but overnight yields the best texture and cleanest slices.
- → Can this dessert be made ahead of time?
Yes, it's actually best prepared a day in advance so it can fully set in the fridge before unmolding and slicing.