
 Save
Save
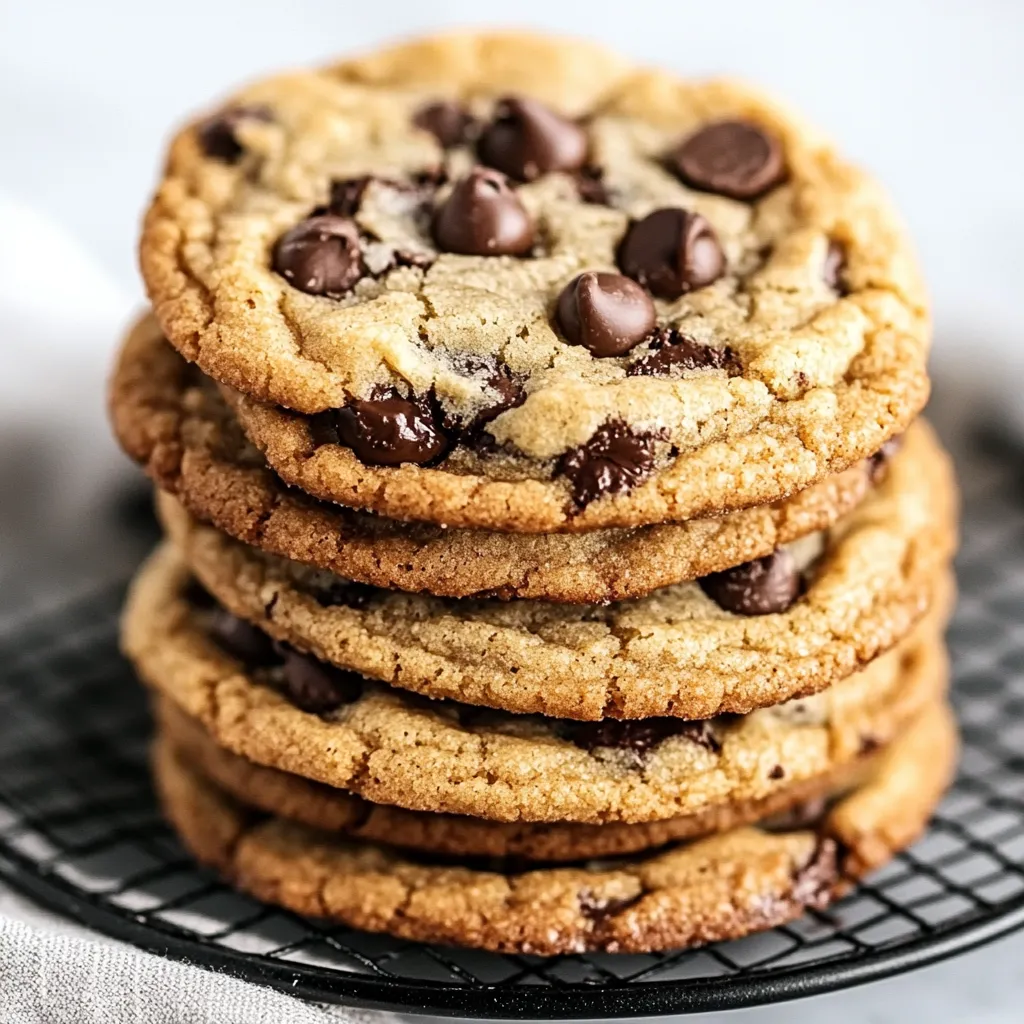
This cookie recipe elevates the classic chocolate chip cookie to new heights with nutty browned butter that creates the perfect chewy texture with crispy edges. The overnight chilling develops those complex flavors that make these cookies absolutely irresistible.
I first made these cookies during a rainy weekend when my family was craving something special. The aroma of browning butter filled our kitchen and my kids now request them for every special occasion.
Ingredients
- Unsalted butter: Creates the base for our browned butter giving control over salt content
- Dark brown sugar: Provides deep molasses notes and helps create that perfect chewy texture
- Combination of all purpose and bread flour: Creates the ideal structure
- Baking soda and powder: Work together for proper rise and texture
- Sea salt: Enhances all flavors especially the chocolate
- Room temperature eggs: Ensure proper incorporation
- Vanilla extract: Complements the nutty browned butter
- Combination of chocolate chips and baking wafers: Creates layers of chocolate in every bite
Step-by-Step Instructions
- Brown the Butter:
- Heat butter in a small saucepan over medium heat swirling occasionally. Listen for crackling sounds which will eventually stop. Continue cooking until butter develops a nutty aroma and amber brown bits form at the bottom usually 2 to 3 minutes after crackling stops. Pour immediately into mixing bowl add sugars and set aside to cool completely.
- Mix the Dry Ingredients:
- Combine both flours baking soda baking powder and salt in a medium bowl whisking thoroughly to ensure even distribution of leavening agents.
- Combine Wet Ingredients:
- Once browned butter mixture has cooled add eggs egg yolk and vanilla stirring with a rubber spatula until fully incorporated. The mixture should look smooth and glossy.
- Form the Dough:
- Gradually add the dry ingredients to the wet mixture stirring just until combined. Avoid overmixing which can develop too much gluten. Gently fold in chocolate chips and wafers distributing evenly throughout.
- Chill the Dough:
- Wrap the dough thoroughly in plastic wrap and refrigerate for at least 24 hours but no more than 72 hours. This critical step allows flavors to develop and prevents excessive spreading during baking.
- Bake to Perfection:
- Preheat oven to 350°F and line baking sheets with parchment paper. Scoop 3tablespoon portions of dough spacing them 3 inches apart. Bake for 11 to 13 minutes until golden brown. Allow to cool briefly on the pan before transferring to wire racks.
My favorite moment with these cookies came when my daughter asked to learn how to make them herself. We spent an afternoon mastering the art of browning butter and now it's our special baking tradition every holiday season.
The Art of Browning Butter
Browning butter transforms an ordinary ingredient into something magical. As the water evaporates from the butter the milk solids begin to caramelize creating a complex nutty flavor that elevates these cookies. Watch the butter carefully as it can go from perfectly browned to burnt in seconds. The visual cue of amber colored bits at the bottom of the pan along with that distinctive nutty aroma signals perfection. Allow the browned butter to cool completely before proceeding with the recipe to prevent cooking the eggs when added.
Cookie Texture Science
The combination of all purpose and bread flour is the secret to these cookies' perfect texture. All purpose flour provides tenderness while bread flour with its higher protein content creates chewiness and structure. The overnight refrigeration allows the flour to fully hydrate resulting in cookies that spread at just the right rate during baking. The ratio of sugars also plays an important role with brown sugar providing moisture and chewiness while granulated sugar encourages crisp edges.
Storage and Serving
Store baked cookies in an airtight container at room temperature for up to 5 days. For longer storage freeze baked cookies for up to 3 months. The cookie dough can also be portioned and frozen for up to 2 months so you can bake fresh cookies whenever the craving strikes. Just add 1 to 2 minutes to the baking time when baking from frozen. For an extra special treat warm cookies for 10 seconds in the microwave before serving with a glass of cold milk or a scoop of vanilla ice cream for a decadent dessert.
Chocolate Selection Guide
The combination of standard chocolate chips and high quality chocolate wafers creates layers of chocolate throughout these cookies. Chocolate chips hold their shape during baking while the wafers melt into beautiful puddles creating that bakery style look. For the best flavor choose highquality chocolate with at least 60% cacao. Brands like Guittard and Valrhona offer superior flavor but any good quality chocolate will work. Feel free to customize with dark chocolate milk chocolate or even white chocolate to suit your taste preferences.
Recipe FAQs
- → What makes browned butter special?
Browned butter has a nutty aroma and depth of flavor that enhances baked goods like cookies, adding richness and complexity.
- → How do I know when the butter is browned?
The butter will develop a nutty aroma, have amber-colored bits at the bottom, and stop crackling when it's ready.
- → Why chill the cookie dough?
Chilling the dough helps develop flavor and ensures the cookies hold their shape during baking.
- → What is the best way to measure flour?
Use a digital kitchen scale for accuracy. If unavailable, use the spoon and level method to avoid over-measuring.
- → Can I substitute chocolate wafers?
Yes, you can use more chocolate chips instead, but wafers melt more evenly, creating gooey pockets of chocolate.