
 Save
Save
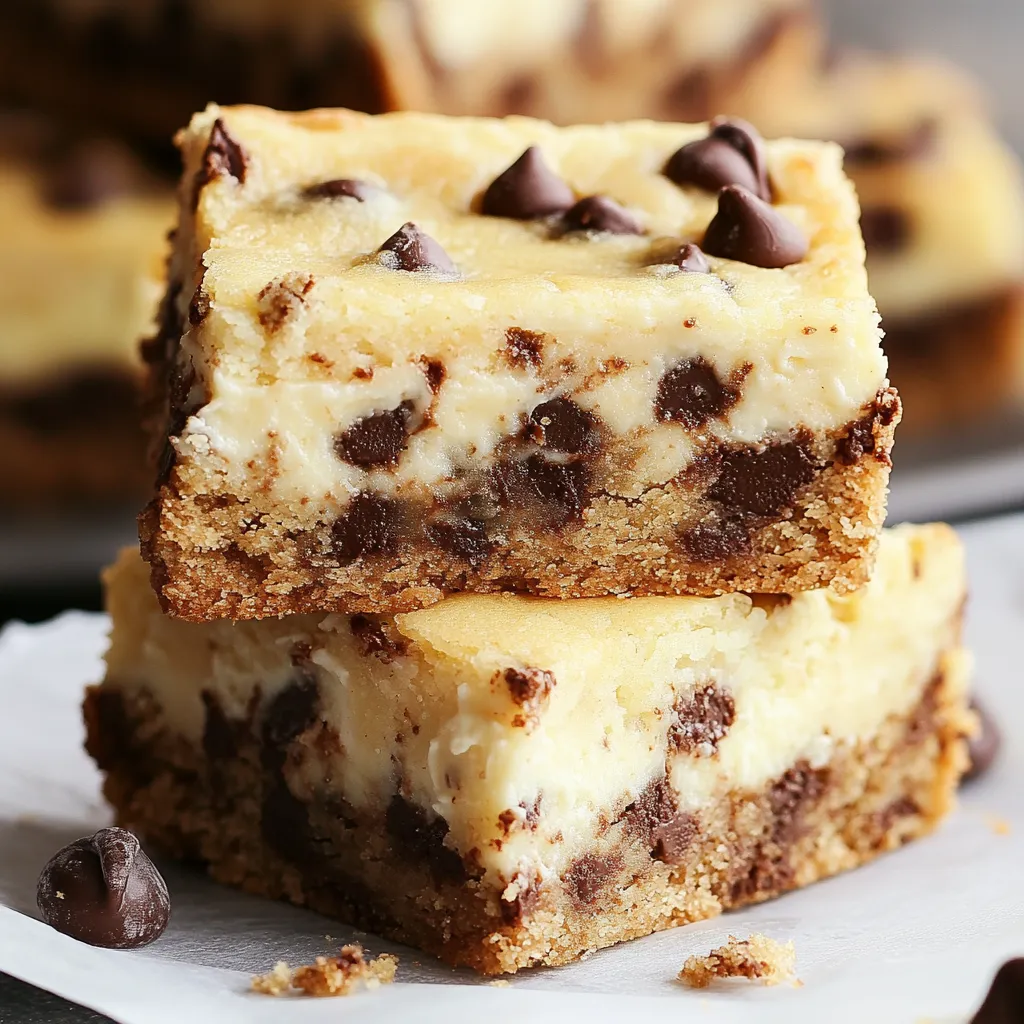
This decadent chocolate chip cookie cheesecake bar recipe combines the best of two beloved desserts into one irresistible treat. The buttery chocolate chip cookie base and topping sandwich a velvety smooth cheesecake layer, creating the ultimate dessert that satisfies both cookie lovers and cheesecake enthusiasts.
I first created these bars for a family potluck when I couldn't decide between bringing cookies or cheesecake. The recipe was such a hit that relatives now specifically request these bars for every holiday gathering, and they disappear faster than any other dessert on the table.
Ingredients
- For the Cookie Layer:
- All-purpose flour: Provides the perfect sturdy structure for both holding the cheesecake and maintaining a chewy texture
- Fine sea salt: Enhances all the flavors especially the chocolate while balancing the sweetness
- Baking soda and baking powder: Work together for the ideal rise and texture
- Unsalted butter: At cool room temperature (67°F) creates the perfect consistency look for butter that gives slightly when pressed
- Dark brown sugar: Adds rich caramel notes and keeps the cookie layers moist
- Granulated sugar: Provides sweetness and helps create crispness around the edges
- Large eggs: Bind everything together and add richness
- Vanilla extract: Enhances the flavor profile with warm aromatic notes
- Semisweet chocolate chips: Offer the perfect balance of sweetness and complexity
- For the Cheesecake Layer:
- Cream cheese: Completely softened to room temperature ensures a smooth lump-free filling
- Granulated sugar: Sweetens without overwhelming the tangy cream cheese
- Large eggs: Provide structure and richness to the cheesecake layer
- Vanilla extract: Adds warmth and depth to the creamy filling
- Fine sea salt: Enhances all the flavors and balances the sweetness
Step-by-Step Instructions
- Prepare the Baking Pan:
- Preheat your oven to 325°F and line a 9x13-inch metal baking pan with parchment paper creating an overhang for easy removal. A quick spray with nonstick cooking spray ensures nothing sticks.
- Make the Cookie Dough:
- Combine dry ingredients by whisking together flour, salt, baking soda, and baking powder in a medium bowl until evenly distributed. In your mixer, beat butter and both sugars for a full 3 minutes until the mixture becomes noticeably lighter in color and fluffy in texture. This aerates the butter creating a better texture. Add eggs one at a time, allowing each to fully incorporate before adding the next. Mix in vanilla extract, then gradually add the dry ingredients on low speed to avoid flour flying everywhere. Fold in chocolate chips gently by hand using a rubber spatula. This preserves the air you incorporated earlier.
- Create the Cheesecake Filling:
- Beat the softened cream cheese and sugar together for a full 3 minutes, scraping the bowl thoroughly to eliminate any lumps. This step is crucial for a silky smooth cheesecake. Add eggs one at a time, ensuring each is fully incorporated before adding the next. Mix in vanilla and salt until just combined. The batter should look smooth, glossy and pourable.
- Assemble the Layers:
- Press about two-thirds of the cookie dough into an even layer on the bottom of your prepared pan. Use a spatula or your fingers to create a uniform base. Pour the cheesecake batter over this cookie layer, spreading to the edges. Take the remaining cookie dough, form it into flattened pieces between your palms, and arrange them across the top of the cheesecake layer. The rustic, imperfect look adds to the charm. Sprinkle the additional chocolate chips over the top for extra indulgence and visual appeal.
- Bake to Perfection:
- Bake for 40 to 50 minutes until the cookie portions turn golden brown at the edges. Look for a slight jiggle in the center of the cheesecake layer. If desired, sprinkle with flaky sea salt while still warm. Allow to cool completely at room temperature before refrigerating for at least 3 hours or overnight. The chilling time is essential for the cheesecake to set properly and flavors to meld.
I consider the dark brown sugar to be the secret hero ingredient in these bars. It adds a depth of caramel-like flavor that elevates the cookie layers from good to exceptional. My daughter actually requested these instead of a traditional birthday cake last year, and watching her face light up as everyone sang around a platter of these bars rather than a cake made for a truly memorable celebration.
Storage and Freshness
These cheesecake bars maintain their wonderful texture and flavor for up to 5 days when stored in an airtight container in the refrigerator. The cookie portions will soften slightly over time while taking on more of the cheesecake flavor, which many of my friends actually prefer. For longer storage, you can freeze these bars for up to 2 months. Simply place them in a single layer on a baking sheet until frozen solid, then transfer to a freezer-safe container with parchment between layers.
The Perfect Metal Pan
Using a metal baking pan is crucial for this recipe. Metal conducts heat more efficiently than glass or ceramic, resulting in even baking and perfectly golden edges. Glass pans retain heat longer and can cause the edges to burn before the center is fully baked. The straight sides of a metal pan also create clean, professional-looking edges on your bars. If you must use glass, reduce the oven temperature by 25°F and be prepared to extend the baking time while watching carefully.
Serving Suggestions
Transform these already impressive bars into a showstopping dessert by warming individual portions for 10-15 seconds in the microwave and topping with a small scoop of vanilla ice cream. The contrast between the warm bar and cold ice cream creates a delightful sensory experience. For special occasions, drizzle with warm caramel sauce or hot fudge before serving. These bars also pair beautifully with coffee, especially a robust dark roast that complements the chocolate and cuts through the richness of the cheesecake.
Recipe FAQs
- → What type of pan is best for baking these bars?
Metal pans are recommended for their even heat distribution and straighter edges. Avoid glass or ceramic as they may cook unevenly or burn the edges.
- → Can I make the dough ahead of time?
Yes, the cookie dough can be prepared and refrigerated for up to 3 days before assembling and baking the bars.
- → How should I store these bars?
These bars should be stored in an airtight container in the refrigerator and can last up to 5 days.
- → Can I use milk chocolate chips instead of semisweet?
Yes, milk chocolate chips can be used, but they will result in a sweeter flavor compared to semisweet chips.
- → How do I know when the bars are fully baked?
The bars are done when the edges and top are lightly golden brown. Allow them to cool completely before cutting for clean edges.