
 Save
Save
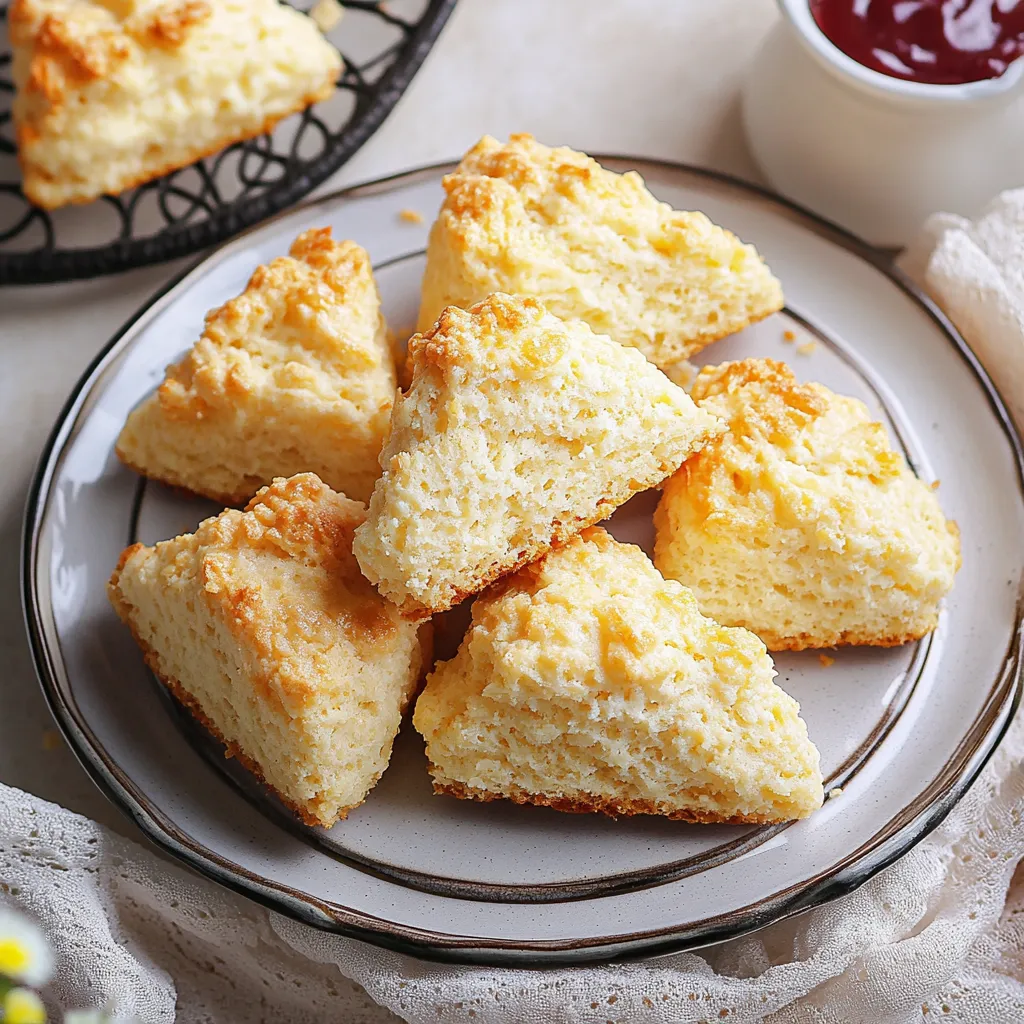
This perfect scone recipe creates buttery, flaky, melt-in-your-mouth pastries that rival your favorite coffee shop's version. I stumbled upon this technique years ago and have been perfecting it since, turning weekend mornings into special occasions with just 35 minutes of effort.
The first time I made these scones for my family, they disappeared before they could even cool completely. Now they've become our Sunday morning tradition, often made the night before so we can wake up to freshly baked scones with minimal effort.
Ingredients
- All purpose flour: Provides the perfect structure when measured correctly
- Granulated sugar: Adds just enough sweetness without overwhelming
- Sea salt: Enhances all the flavors and balances the sweetness
- Baking powder and baking soda: Work together for the perfect rise
- Cold unsalted butter: Creates those heavenly flaky pockets
- Buttermilk: Adds tenderness and a subtle tang
- Eggs: Provide richness and structure
- Vanilla extract: Adds warmth and depth to the flavor profile
- Coarse sugar for topping: Creates a delightful crunch and sparkle
Step-by-Step Instructions
- Prepare Your Oven and Pans:
- Adjust your oven rack to the center position and preheat to 400°F. This temperature is crucial for creating that perfect rise and golden exterior while maintaining a tender interior. Line two baking pans with parchment paper to prevent sticking and ensure even baking.
- Mix Dry Ingredients:
- Combine the flour, sugar, salt, baking powder and baking soda in a large bowl. Whisk thoroughly to ensure even distribution of the leavening agents throughout the flour. This step is crucial for consistent texture.
- Cut in Butter:
- Add the cold, cubed butter to your dry ingredients. The butter must be very cold to create those desirable flaky layers. Use a pastry cutter or fork to work the butter into the flour until the pieces are about the size of large peas. Some pieces can be slightly larger, others slightly smaller, creating varying textures throughout your scones.
- Combine Wet Ingredients:
- In a separate bowl, whisk together the buttermilk, one egg, and vanilla extract until well combined. Having your wet ingredients thoroughly mixed ensures even distribution throughout the dough without requiring overmixing later.
- Form the Dough:
- Create a well in the center of your dry ingredients and pour in the liquid mixture. Gently fold everything together just until combined. The dough will look somewhat shaggy and not completely smooth. If adding mix ins like dried fruit, chocolate chips, or nuts, fold them in now with minimal mixing.
- Shape and Cut:
- Transfer your dough to a lightly floured surface. Divide it into two equal portions and gently shape each into a disk about 3/4 inch thick and 6 inches in diameter. Cut each disk into 8 wedges using a sharp knife or bench scraper. Place the wedges on your prepared baking sheets with space between each.
- Prepare for Baking:
- Brush the tops with an egg wash made from the remaining egg mixed with a teaspoon of water. This creates a beautiful golden shine. Sprinkle with coarse sugar for a professional looking finish and delightful crunch.
- Bake to Perfection:
- Bake for 12 to 15 minutes until the scones are lightly golden brown. Watch carefully during the last few minutes as they can quickly go from perfectly golden to overdone. They should feel set to the touch but still yield slightly when pressed.
My absolute favorite thing about this recipe is the lamination technique. It sounds fancy, but it's actually quite simple and makes an incredible difference in the final texture. I'll never forget the first time I tried it. My husband bit into one and declared it better than the expensive coffee shop scones he'd been buying for years.
The Magic of Buttermilk
Buttermilk is a secret weapon in this recipe. The acidity tenderizes the gluten in the flour, creating a more delicate crumb. If you don't have buttermilk on hand, you can make a quick substitute by adding 1 tablespoon of lemon juice or white vinegar to regular milk and letting it sit for 5 minutes. While not exactly the same as cultured buttermilk, it will provide the necessary acidity.
Mix In Possibilities
The beauty of this master scone recipe is its versatility. Try adding 1 cup of mix ins to create countless variations. Dried cranberries and orange zest make a wonderful winter treat. Fresh blueberries create juicy pockets of sweetness in summer. Chocolate chips and chopped nuts are always crowd pleasers. For savory scones, reduce the sugar to 1 tablespoon and add 1 cup of shredded cheese and herbs. Just be gentle when folding in additions to maintain the tender texture.
Make Ahead Strategies
These scones fit perfectly into busy schedules. You can prepare the dough, shape, cut, and freeze the unbaked scones on a baking sheet. Once frozen solid, transfer them to an airtight container or freezer bag. When ready to bake, simply place the frozen scones on a parchment lined baking sheet, brush with egg wash, sprinkle with sugar, and bake. Add just a couple extra minutes to the baking time. This is my favorite weekend strategy for stress free mornings.
Recipe FAQs
- → How do you achieve flaky scones?
To achieve flakiness, use cold butter and avoid overmixing the dough. Optional lamination can add extra layers of flakiness.
- → Can I make scones in advance?
Yes, shape the dough and refrigerate overnight or freeze for up to 1 month. Bake directly from frozen, adding 2 minutes to the bake time.
- → What's the best way to cut butter into flour?
Use a pastry cutter or fork to mix cold, cubed butter into the dry ingredients until it resembles pea-sized crumbs.
- → Should I add toppings before baking?
Yes, brush the scones with egg wash and sprinkle coarse sugar on top for a golden, crunchy finish.
- → Can I customize the scone flavor?
Absolutely! Mix in dried fruits, nuts, or chocolate before shaping the dough for your desired flavor.