
 Save
Save
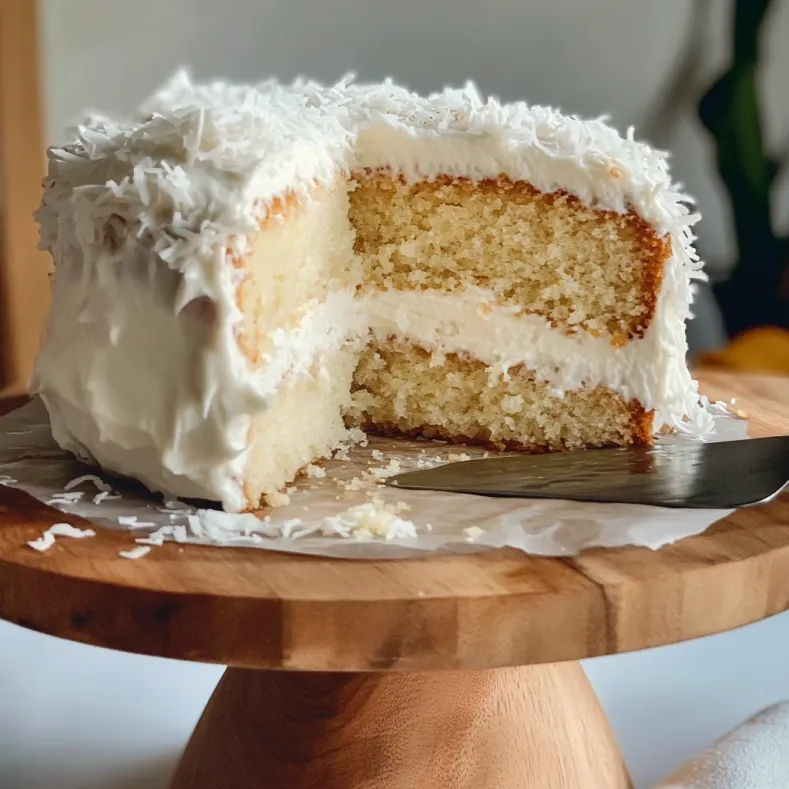
This coconut cake recipe transforms a box mix into something extraordinary with minimal effort. The secret lies in allowing the cake to rest for a couple days in the refrigerator, letting the flavors meld together beautifully. The result is a moist, coconut-infused dessert that tastes like you spent hours in the kitchen.
I first made this for my sister's birthday when I was still learning to bake, and everyone was amazed that I created something so delicious. Now it's my signature dessert for special occasions when I need something impressive but foolproof.
Ingredients
- Duncan Hines Golden Butter cake mix: provides the perfect base with rich flavor without the fuss of measuring dry ingredients
- Melted butter: adds richness and moisture that oil simply cannot match
- Sour cream: creates an exceptionally tender crumb and balances the sweetness
- Unsweetened shredded coconut: delivers authentic flavor without being cloyingly sweet
- Coconut milk: infuses every layer with tropical flavor that canned frosting could never achieve
- Cool Whip: creates a light airy frosting that won't compete with the coconut flavor
Step-by-Step Instructions
- Prepare the Cake Batter:
- Beat the cake mix with melted butter, water, and eggs for a full 4 minutes. This extended mixing time incorporates air for a fluffier texture and ensures a completely smooth batter without dry pockets. The melted butter is your secret weapon here, adding richness you simply cannot get from oil.
- Bake and Cool:
- Divide the batter between two greased cake pans, being careful to distribute evenly for uniform layers. Bake at 350°F for exactly 25 minutes or until a toothpick inserted comes out with a few moist crumbs. Allow cakes to cool completely in their pans for 10 minutes, then transfer to cooling racks. Rushing this step will result in a crumbly mess when slicing.
- Slice the Layers:
- Once completely cool, carefully slice each cake in half horizontally using a serrated knife. For perfect slices, refrigerate the cakes for 30 minutes first, then mark the sides with toothpicks as cutting guides around the entire circumference.
- Prepare the Filling:
- Beat together sugar, sour cream and shredded coconut until well combined. The mixture should be spreadable but not runny. Reserve exactly one cup for the frosting later. This filling is quite sweet which balances beautifully with the unsweetened coconut.
- Assemble the Cake:
- Start with one cake layer on your serving plate. Brush generously with coconut milk until visibly moist but not soaking. Spread one third of your filling mixture evenly to the edges. Repeat with remaining layers, ensuring each gets thoroughly moistened with coconut milk.
- Create the Frosting:
- Fold the reserved cup of filling gently into Cool Whip until fully incorporated. This creates a frosting with the perfect balance of stability and lightness. Avoid overmixing which can deflate the Cool Whip.
- Finish and Chill:
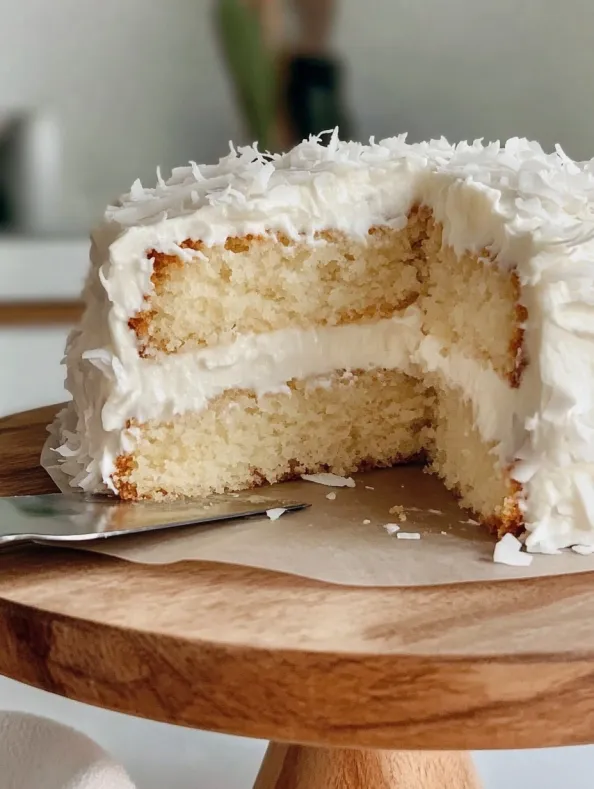
- Cover the entire cake with your frosting mixture, creating decorative swirls if desired. Sprinkle additional coconut on top and gently press more coconut onto the sides for a beautiful presentation. Refrigerate for at least a few hours, but ideally 2-3 days for truly magical flavor development.
The coconut milk brushing step is absolutely my favorite part of making this cake. The first time I made it, I was shocked at how much flavor this simple step added. My grandmother, who claims to dislike coconut, asked for seconds and then requested this cake for her birthday the following month.
Make-Ahead Magic
This cake actually improves with time, making it perfect for busy hosts. You can bake the cake layers up to two days before assembly and store them wrapped tightly at room temperature. The complete assembled cake tastes best after 2-3 days in the refrigerator, though it's certainly delicious immediately after assembly. This aging process allows the coconut milk to fully penetrate the cake layers while the flavors in the filling meld together beautifully.
Easy Substitutions
If you cannot find Duncan Hines Golden Butter cake mix, any yellow cake mix will work beautifully. For a less sweet version, reduce the sugar in the filling to 3/4 cup. You can substitute full-fat Greek yogurt for the sour cream with minimal difference in texture. For a dairy-free version, use plant-based butter, coconut yogurt instead of sour cream, and coconut whipped topping instead of Cool Whip.
Serving Suggestions
This cake shines when served slightly chilled but not cold from the refrigerator. Remove it about 20 minutes before serving for optimal flavor and texture. Pair with coffee or tea for an afternoon treat, or add fresh berries on the side for a colorful dessert presentation. For an extra special touch, offer a small glass of coconut rum liqueur alongside each slice for an adults-only gathering.
Recipe FAQs
- → Can I use sweetened coconut for this cake?
Yes, you can, though unsweetened coconut allows you to better control the sweetness of the cake.
- → How long should I let the cake sit before serving?
For the best flavor, refrigerate the cake for 2-3 days before serving, but it can be enjoyed immediately after frosting.
- → Can I substitute the cake mix for a homemade batter?
Yes, you can make a basic yellow butter cake from scratch if you prefer not to use a mix.
- → How should I store the cake?
Seal the cake in an airtight container and store it in the refrigerator to keep it fresh and flavorful.
- → Can I add extra toppings to the cake?
Absolutely! Sprinkle additional shredded coconut, toasted coconut, or even almond slivers for added texture and flavor.