 Save
Save
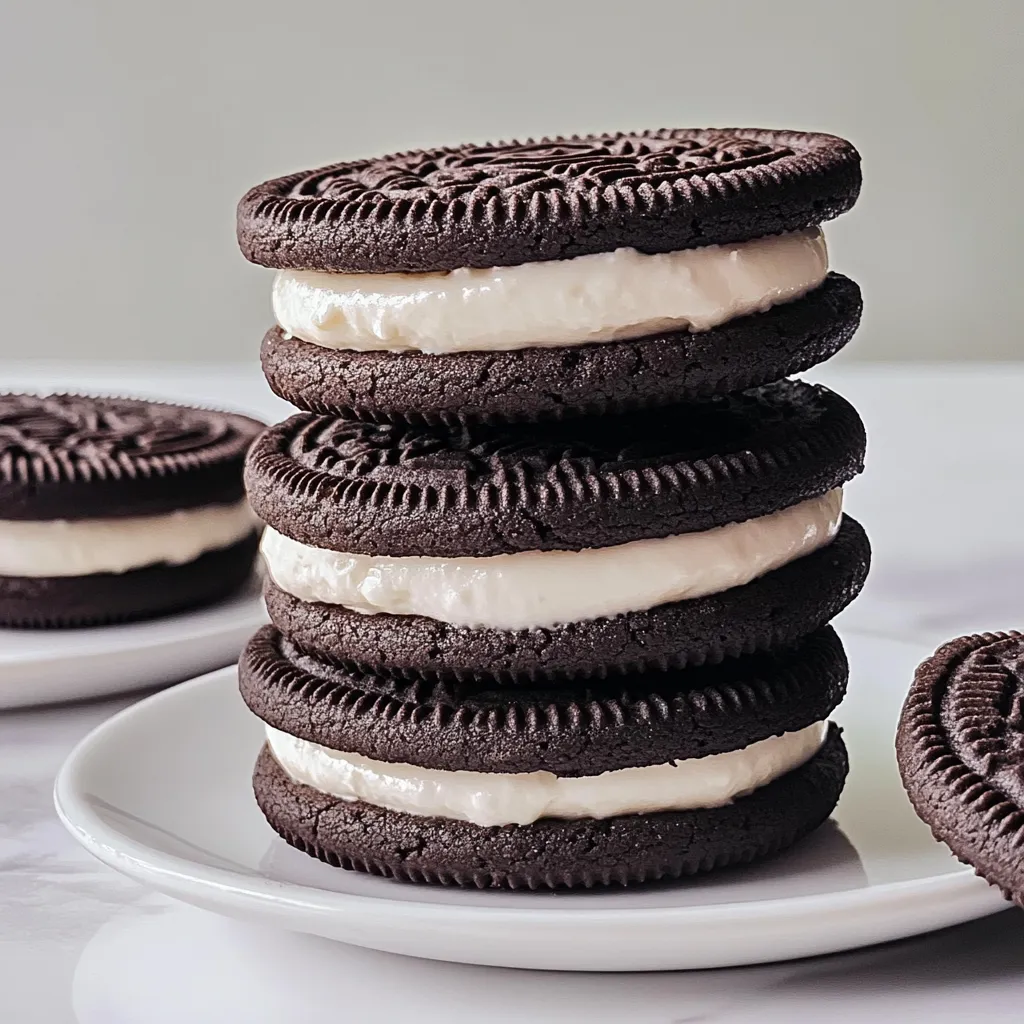
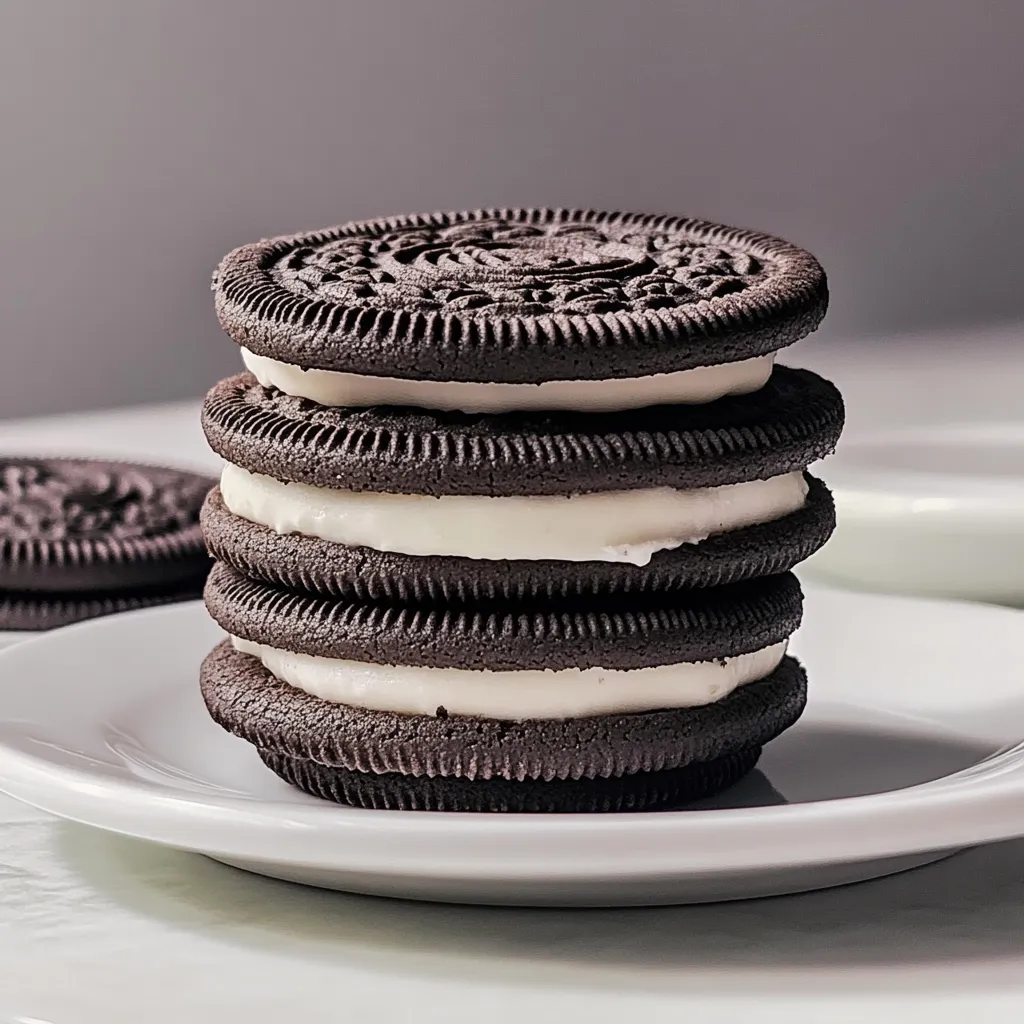
This homemade Oreo recipe transforms the classic store-bought cookie into something even more special with a deep chocolate flavor and creamy vanilla filling. Making these cookies from scratch allows you to control the quality of ingredients and customize the filling to your preference – whether you're a double-stuff devotee or prefer a thinner layer.
The first time I made these homemade Oreos for my niece's birthday party, they disappeared faster than the store-bought cookies. Now they've become our family's signature sweet treat that everyone requests for gatherings.
Ingredients
- All-purpose flour: Provides the structure for the cookies while keeping them tender
- Dutch-process or Black cocoa powder: Gives that distinctive dark Oreo color and intense chocolate flavor
- Baking soda and baking powder: Work together to provide the perfect rise and texture
- Unsalted butter: In both cookies and filling creates richness and allows you to control salt content
- Pure vanilla extract: In the filling provides that classic Oreo cream flavor
- Powdered sugar: Creates that smooth, sweet filling texture we all love from classic Oreos
Step-by-Step Instructions
- Prepare the Oven and Baking Sheets:
- Preheat your oven to 375°F. This temperature is key to getting the perfect snap in your cookies. Line two baking sheets with parchment paper to prevent sticking and ensure even baking.
- Mix the Dry Ingredients:
- In a food processor or stand mixer, combine the flour, cocoa powder, baking soda, baking powder, salt, and sugar. Mix them thoroughly to ensure no cocoa lumps remain which would create bitter spots in your cookies.
- Add Butter and Egg:
- While pulsing or mixing on low speed, add butter chunks gradually followed by the egg. Continue processing until the dough comes together into a cohesive mass, about 1 minute. The dough should be firm but pliable.
- Form and Flatten Cookies:
- Divide the dough into 1-Tablespoon sized balls using a cookie scoop. Place them on your prepared baking sheets, allowing plenty of space between each. Dampen your palm slightly before pressing each cookie to about 1/8-inch thickness. This prevents sticking and gives you that perfect Oreo shape.
- Chill Before Baking:
- Refrigerate the trays of flattened cookie dough for at least 10 minutes. This crucial step helps the cookies maintain their shape during baking and develops better flavor.
- Bake to Perfection:
- Bake for 9-10 minutes, rotating once halfway through. Look for cookies that are completely set and smell fragrant. Allow them to cool completely on wire racks before filling.
- Create the Filling:
- Beat the butter and vanilla together until smooth and well combined. Gradually add powdered sugar and salt, then beat on high speed for 2-3 minutes until light and fluffy. This extended beating incorporates air for that classic creamy texture.
- Assemble Your Oreos:
- Add a teaspoon of filling to the center of one cookie, then top with another similarly sized cookie. Gently press to spread the filling evenly to the edges. The filling should be visible but not overflowing.

Storage Tips
Store unfilled cookies in an airtight container for up to 5 days. They will gradually soften over time but still taste delicious. For filled cookies, refrigeration can extend freshness but may slightly alter the texture. For longest storage, freeze unfilled cookies in airtight containers with parchment between layers for up to 3 months.
Flavor Variations
The basic filling recipe serves as an excellent canvas for customization. For mint Oreos, add 1/4 teaspoon peppermint extract to the filling. Coffee lovers can mix in 1 teaspoon of espresso powder. For festive occasions, incorporate a few drops of food coloring to create themed cookies. You can even replace some of the butter with peanut butter for a nutty twist.
Making Ahead Tips
The cookie dough can be made up to 3 days ahead and stored, tightly wrapped, in the refrigerator. You can also freeze the dough for up to a month. The filling can be prepared 2 days in advance and stored in the refrigerator. Just bring it to room temperature and re-whip before using to restore its fluffy texture.
Recipe FAQs
- → How do I make these cookies crispy?
Ensure the cookies are flattened evenly to about 1/8-inch thickness and bake until fully set. Cool completely for maximum crispiness.
- → Can I use regular cocoa instead of Dutch-process?
Yes, but Dutch-process or black cocoa powder provides a richer flavor and darker color closer to traditional Oreos.
- → What’s the best way to store these cookies?
Keep the cookies in an airtight container for up to 2 days, but note they may lose their crisp texture over time.
- → Can I customize the filling flavor?
Absolutely! Add extracts like peppermint, almond, or lemon to the filling for a personalized twist.
- → How can I make these cookies double-stuffed?
Simply increase the amount of filling between each pair of cookies when assembling.
