
 Save
Save
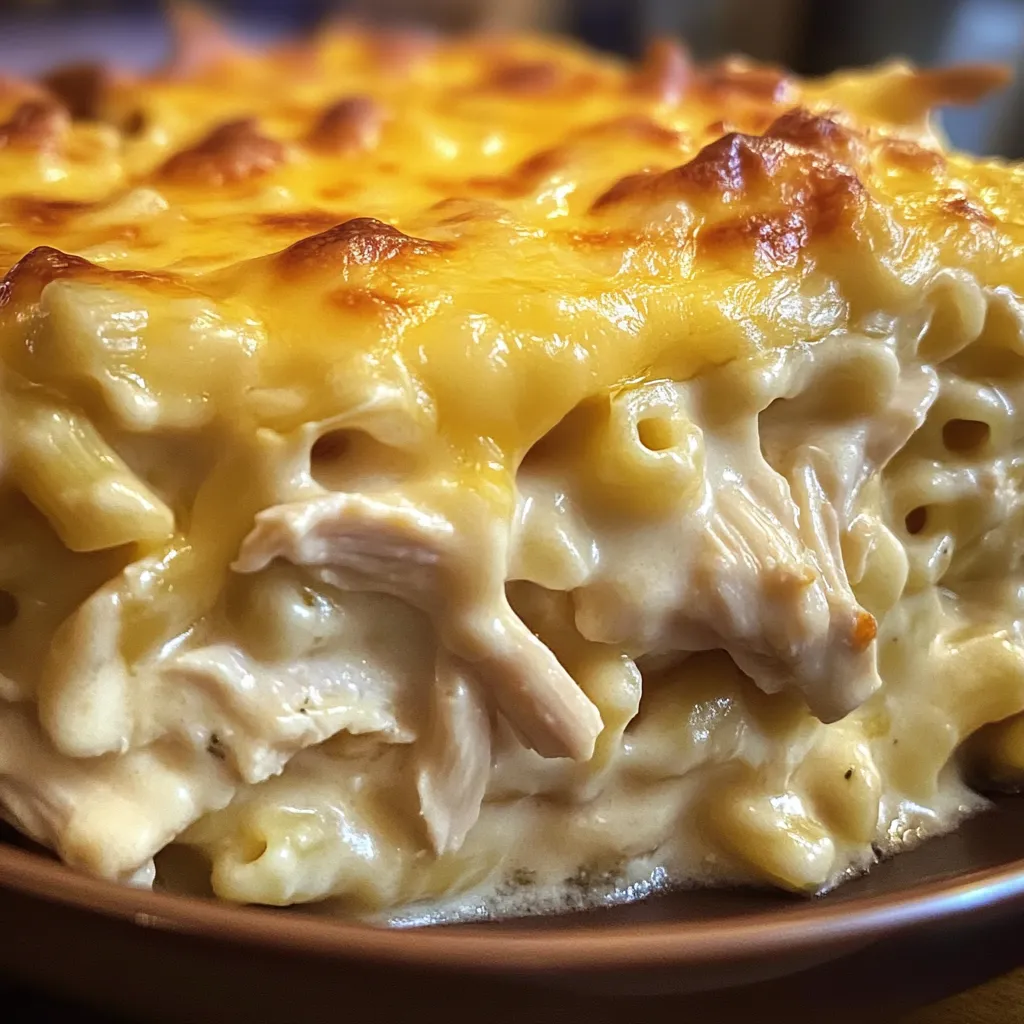
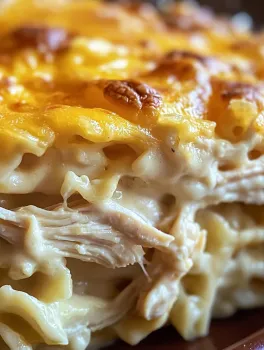
This hearty chicken casserole has been my trusted go-to recipe for years when I need to feed a crowd with minimal effort but maximum flavor. The creamy sauce combined with tender chicken and perfectly cooked noodles creates a comforting dish that disappears quickly at any gathering.
I first made this casserole when my sister brought her newborn home from the hospital. Our entire extended family descended on her house to meet the baby, and this dish fed everyone with plenty of seconds. Now it's requested at nearly every family gathering.
Ingredients
- Cooked shredded chicken: provides the hearty protein base for this dish. Rotisserie chicken works beautifully and saves time.
- Cream of chicken soup: creates a rich flavor foundation that infuses the entire casserole.
- Cream of mushroom soup: adds earthy depth without overwhelming the dish.
- Sour cream: introduces tang and creaminess that balances the richness.
- Mayonnaise: might sound unusual, but trust me, it creates an incredible velvety texture.
- Shredded cheddar cheese: forms a gooey, irresistible layer that browns beautifully.
- Egg noodles: hold up perfectly to the creamy sauce without becoming mushy.
- Diced tomatoes: add bright pops of color and acidity. They're optional but recommended.
- Garlic and onion powders: provide savory depth without the work of chopping fresh aromatics.
- Cornflake topping: creates the signature crispy, buttery crown that makes this casserole special.
Step-by-Step Instructions
- Preparation:
- Preheat your oven to 350°F. This moderate temperature allows the casserole to heat through evenly without burning the top before the center is hot.
- Create The Sauce Base:
- Combine both cans of soup, sour cream, and mayonnaise in a large bowl. Whisk thoroughly until no streaks remain. This creamy base is the heart of the casserole, so make sure it's silky smooth before adding other ingredients.
- Season The Mixture:
- Add garlic powder, onion powder, salt, and pepper to the sauce base. Be generous with the seasonings as they need to flavor the entire dish. Taste and adjust before adding the chicken and noodles.
- Incorporate The Main Components:
- Fold in your shredded chicken first, ensuring each piece gets coated with the creamy mixture. Then gently add the cooked egg noodles and optional tomatoes, using a folding motion to prevent breaking the noodles.
- Assemble The Casserole:
- Transfer the mixture to a greased baking dish, spreading it evenly to the corners. The even distribution ensures consistent cooking and serving portions.
- Add The Cheese Layer:
- Sprinkle the cheddar in an even layer across the entire surface. Make sure to reach the edges where cheese creates delicious crispy bits against the pan.
- Create The Crunchy Topping:
- Mix crushed cornflakes with melted butter until every flake is lightly coated. This simple step transforms ordinary cornflakes into a golden, buttery topping that provides wonderful textural contrast.
- Bake To Perfection:
- Bake until the casserole bubbles around the edges and the topping turns a deep golden brown, about 30-35 minutes. The bubbling indicates the center is thoroughly heated.
- Rest Before Serving:
- Allow the casserole to rest for at least 5 minutes after removing from the oven. This crucial step helps the sauce set slightly so servings hold their shape better on plates.
The cornflake topping is what makes this casserole truly special. The first time I made this recipe, I almost skipped it thinking breadcrumbs would work just as well. My grandmother caught me and insisted I follow Paula's recipe exactly. She was right the sweet, buttery crunch of cornflakes creates a magical contrast to the creamy filling that breadcrumbs simply cannot match.
Make It Your Own
This casserole welcomes personalization based on what you have available. Try adding a cup of frozen peas and carrots for color and nutrition. Broccoli florets work beautifully too, adding texture and a boost of vitamins. For a spicier version, mix in a small can of diced green chilies or a dash of hot sauce to the creamy base.
Freezing and Storage
The beauty of this casserole lies in its incredible freezing potential. To freeze, prepare the recipe up to the baking step, but skip adding the cornflake topping. Cover tightly with foil and freeze for up to three months. When ready to enjoy, thaw in the refrigerator overnight, add the freshly prepared cornflake topping, and bake as directed, adding about 15 minutes to the cooking time.
Serving Suggestions
While this casserole certainly stands alone as a complete meal, I love serving it with simple sides that complement its richness. A crisp green salad dressed with vinaigrette provides refreshing contrast. Steamed green beans with a squeeze of lemon lighten the meal. For holiday dinners, cranberry sauce adds a sweet-tart element that pairs surprisingly well with the creamy chicken flavors.
The History Behind The Comfort
Paula Deen built her culinary empire on comforting Southern casseroles just like this one. These dishes emerged from practical necessity during times when feeding large families economically was essential. Casseroles became popular in American homes during the mid-20th century when convenience products like condensed soups became widely available. Today, they remain beloved for the same reasons they originated ease of preparation, ability to feed many, and pure comfort in every bite.
Recipe FAQs
- → Can I use a different type of chicken?
Yes, rotisserie chicken, baked, or boiled chicken can all be used as alternatives. Just ensure it is shredded well.
- → What can I substitute for cream of mushroom soup?
You can use cream of celery soup or another creamy substitute depending on your preference.
- → Can this casserole be made ahead of time?
Yes, you can assemble the casserole, cover it, and refrigerate it for up to a day before baking.
- → What side dishes go well with this dish?
Consider serving it with steamed vegetables, a fresh green salad, or crusty bread for a complete meal.
- → Can I freeze the casserole?
Yes, the casserole can be frozen either before or after baking. Wrap it tightly and store for up to 3 months.