
 Save
Save
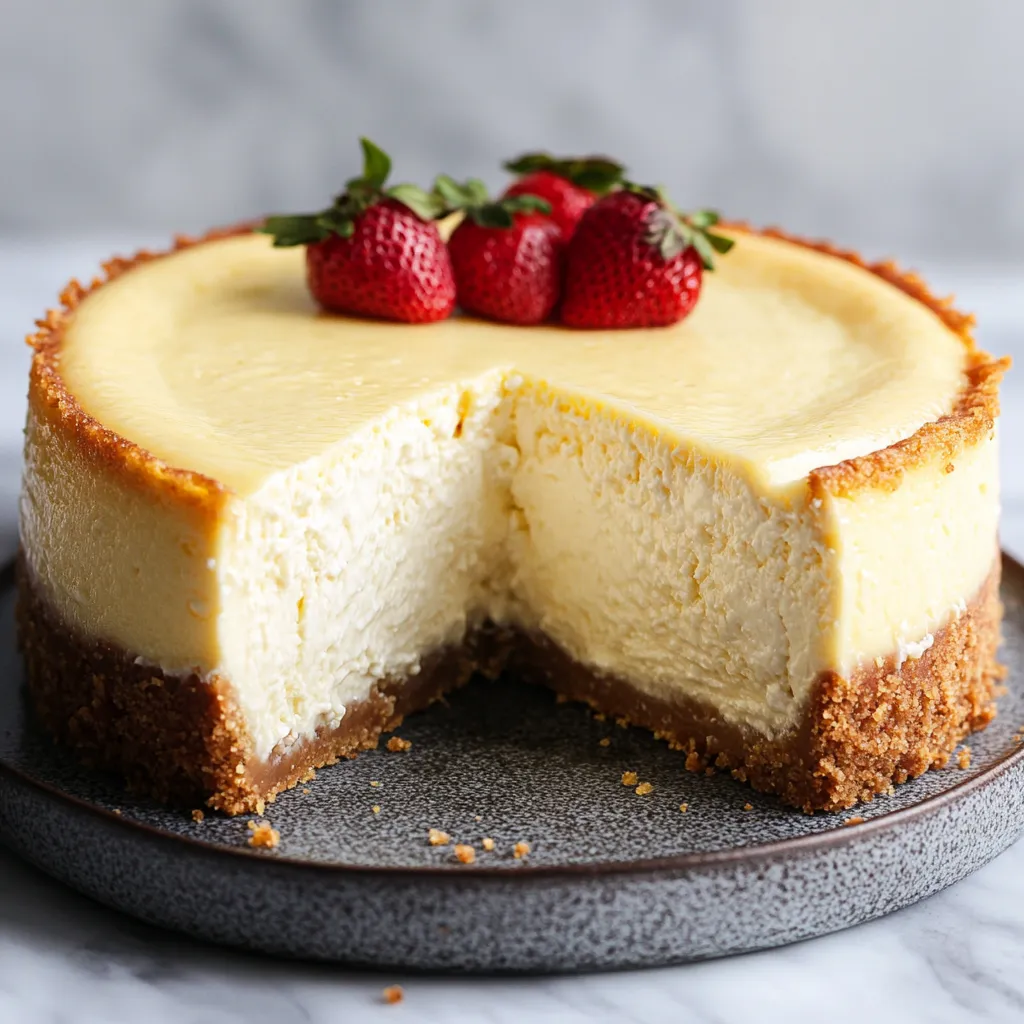
This foolproof water bath technique is the secret to baking silky-smooth cheesecakes without cracks. After years of trial and error, I've perfected this method that ensures even baking and beautiful results every time.
I discovered this method after countless failed attempts at making the perfect cheesecake for my mother's birthday. What started as a disaster turned into a family tradition, and now I'm known for my flawless cheesecakes at every gathering.
Ingredients
- High quality springform pan: Look for one with a tight seal and sturdy construction for best results.
- Larger baking or roasting pan: Choose one at least 2 inches larger than your springform pan all around.
- Wide heavy duty aluminum foil: Regular foil is too narrow. The extra wide rolls create a better waterproof seal.
- Heat safe oven bag or slow cooker bag: This creates an additional water barrier for guaranteed protection.
- Boiling water: Freshly boiled water ensures the proper temperature from the start of baking.
Step-by-Step Instructions
- Bake Your Crust First:
- Prepare and bake your graham cracker crust according to your recipe. Allow it to cool completely before adding the cheesecake batter. This prevents a soggy bottom and creates that perfect crisp foundation for your creamy filling.
- Wrap The Pan Thoroughly:
- Place your springform pan on a large piece of heavy duty aluminum foil and gently fold the edges up and around the pan. Repeat with two more sheets of foil, rotating slightly each time to cover any potential gaps. The triple layer provides excellent protection against water seepage.
- Add The Optional Bag Barrier:
- For ultimate protection, place your foil-wrapped pan inside a heat-safe oven bag. Roll down the top of the bag so it sits flush with the edge of the pan. This double-protection system ensures absolutely no water can reach your cheesecake.
- Prepare The Water Bath:
- Place your filled springform pan inside the larger baking pan. Carefully position both pans on the middle oven rack. Bring your kettle of water to a boil and carefully pour it into the outer pan, filling it about halfway up the sides of the springform pan.
- Bake With Patience:
- Bake your cheesecake at 325°F for 60-75 minutes. The perfect cheesecake will have a set top that still wobbles slightly in the center when gently shaken. Avoid the temptation to overbake, as the residual heat will continue cooking the center.
- Cool Gradually:
- Turn off the oven, crack the door open slightly, and allow the cheesecake to cool slowly for 30-60 minutes inside. This prevents the dramatic temperature change that can cause cracks to form on the surface.
My grandmother taught me this water bath technique when I was just twelve years old. She insisted that patience was the most important ingredient in a perfect cheesecake. The memory of standing on a stool in her kitchen, carefully wrapping foil around the pan while she boiled water, remains one of my most treasured cooking memories.
Troubleshooting Water Bath Issues
If you've had water leakage problems in the past, the double protection method with both foil and an oven bag is your solution. The plastic bag creates an impenetrable barrier while the foil provides structure. I learned this trick from a professional pastry chef who suggested the bag after I complained about ruined cheesecakes.
Make-Ahead Tips
One advantage of cheesecake is that it actually improves with time in the refrigerator. You can prepare your water bath cheesecake up to three days before serving. Just cool completely, cover with plastic wrap once at room temperature, and refrigerate. The flavors will develop beautifully during this resting period.
Why Water Baths Matter
Without a water bath, the outer edges of your cheesecake bake faster than the center, causing uneven texture and cracking. The water creates a stable temperature environment that allows for gentle, even cooking throughout. Think of it as the difference between roasting and steaming your cheesecake. The steaming effect gives you that professional bakery result.
Recipe FAQs
- → Why use a water bath for cheesecake?
A water bath creates a moist environment that helps the cheesecake bake evenly and prevents cracks by reducing heat fluctuations.
- → What type of pan works best for a water bath?
A high-quality springform pan works best, as it allows for easy removal of the cheesecake. Use heavy-duty aluminum foil to seal it against water leaks.
- → How much water do I add to the pan?
Pour boiling water into the larger pan until it reaches about halfway up the sides of the springform pan. Avoid overfilling to prevent water splashing into the batter.
- → How can I prevent water from leaking into the cheesecake?
Wrap the springform pan in three layers of heavy-duty aluminum foil and optionally place it inside a heat-safe oven bag for added protection against water leakage.
- → What temperature should I bake the cheesecake at?
Generally, bake a cheesecake in a water bath at 325°F for 1 hour to 1 hour and 15 minutes. Adjust time based on specific recipe instructions.
- → How do I safely remove the cheesecake from the water bath?
Carefully remove the pan from the oven using oven mitts, ensuring no water spills into the cheesecake. Transfer the pan to a cooling rack and remove the foil to avoid trapping moisture.