
 Save
Save
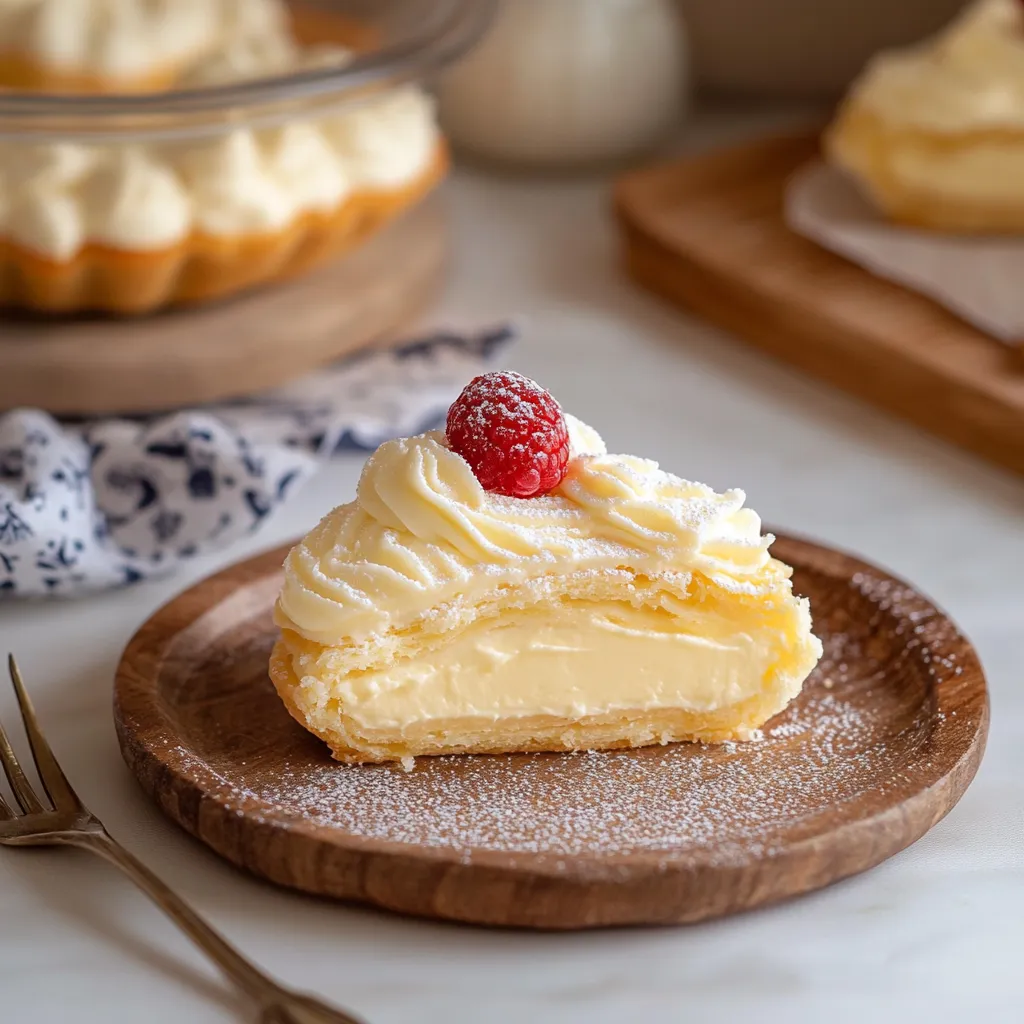
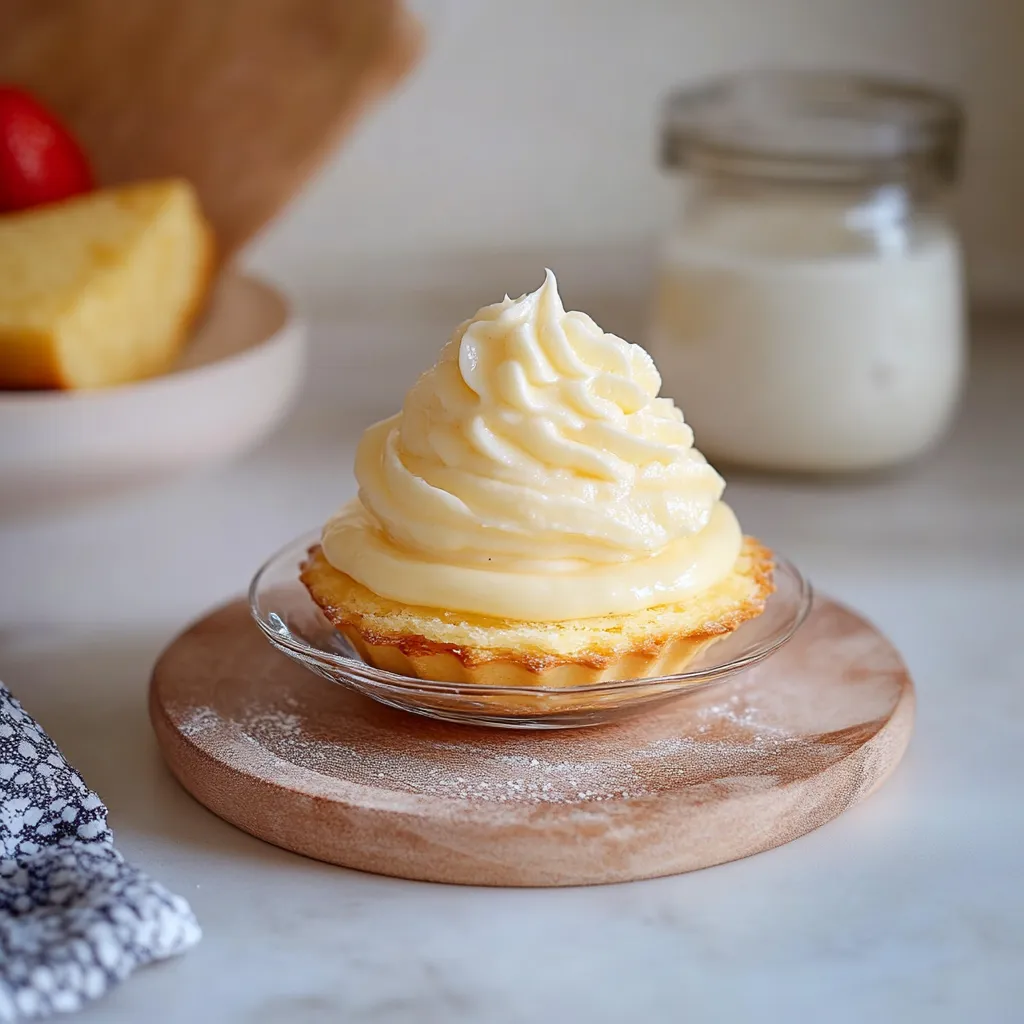
This vanilla bean pastry cream has become my secret weapon for elevating any dessert from ordinary to extraordinary. Its silky texture and rich flavor create the perfect filling that never fails to impress guests when piped into cream puffs or spread between cake layers.
I first developed this recipe when preparing for my sister's bridal shower. The guests were so impressed with my homemade eclairs that I now bring pastry cream-filled desserts to every family gathering. The subtle vanilla notes and velvety texture make it worth the little extra effort compared to store-bought options.
Ingredients
- Whole milk: Delivers the perfect richness. Always use full-fat for the best texture and flavor.
- Vanilla extract or vanilla bean paste: Provides the signature flavor. Splurge on real vanilla bean paste to see those beautiful specks throughout.
- Egg yolks: Create that distinctive custard richness and golden color. Free-range pasture-raised eggs make a noticeable difference in both color and flavor.
- Cornstarch: Acts as the thickening agent that gives pastry cream its perfect pipeable consistency.
- Granulated sugar: Balances the richness with just the right sweetness. Regular white sugar works perfectly here.
- Unsalted butter: Adds a glossy finish and richness. This is optional but highly recommended for that professional patisserie quality.
- Pinch of salt: Enhances all the flavors. Never skip this subtle but important ingredient.
Step-by-Step Instructions
- Heat the Milk:
- Pour milk into a medium saucepan with vanilla and salt. Warm over medium heat until you see wisps of steam and small bubbles forming around the edges. Watch carefully to prevent boiling as this can cause the milk to scorch and potentially curdle your eggs in later steps.
- Prepare the Egg Mixture:
- In a separate bowl, vigorously whisk together egg yolks, sugar, and cornstarch until the mixture becomes thick and turns a pale creamy yellow. This usually takes about 2 minutes of continuous whisking. The sugar should be well dissolved and the mixture should fall from the whisk in ribbons.
- Temper the Eggs:
- This crucial step prevents scrambled eggs in your pastry cream. While continuously whisking the egg mixture, slowly pour in about half a cup of the hot milk in a thin stream. The goal is to gradually raise the temperature of the eggs without cooking them. Continue whisking throughout this process to distribute the heat evenly.
- Combine and Cook:
- Add the remaining hot milk to the egg mixture in stages, whisking constantly. Once fully combined, return the entire mixture to the saucepan and place over medium-low heat. Stir continuously with a rubber spatula or whisk, making sure to reach the bottom and corners of the pan where curdling often begins. The mixture will gradually thicken. Continue cooking until you see large bubbles breaking the surface and the cream holds its shape when stirred.
- Finish with Butter:
- Remove from heat immediately when the mixture reaches the boiling point. If using butter, add it one tablespoon at a time, incorporating each addition completely before adding the next. Should the mixture appear slightly separated or greasy, continue whisking vigorously until smooth and glossy. The cooling process helps the butter fully incorporate.
- Strain and Chill:
- While still warm, pour the pastry cream through a fine mesh strainer into a clean bowl. This removes any potential lumps or bits of cooked egg for the smoothest possible texture. Press plastic wrap directly onto the surface of the cream to prevent a skin from forming. Refrigerate until completely chilled, at least two hours or overnight for best results.
My absolute favorite way to enjoy this pastry cream is in a classic French fruit tart with fresh berries. The contrast between the cool, rich custard and bright, juicy fruit creates the perfect balance. My grandmother taught me this recipe, passing down her secret of adding just a tiny pinch of salt to enhance the vanilla flavor rather than compete with it.
Storage Tips
Pastry cream should always be stored in an airtight container with plastic wrap pressed directly against the surface. This prevents the dreaded skin from forming on top and keeps the cream from absorbing refrigerator odors. When properly stored, it remains fresh for 3-5 days, though the texture is best within the first 48 hours. I recommend giving it a good whisk before using if it has been refrigerated for more than a day, as this restores its silky consistency.
Troubleshooting Common Issues
If your pastry cream develops lumps during cooking, all is not lost. Simply remove from heat immediately and whisk vigorously to smooth out small lumps. For stubborn lumps, strain the mixture through a fine mesh sieve multiple times. If your cream seems too thick after refrigeration, gently whisk in a tablespoon of cold milk until you reach the desired consistency. Conversely, if your cream is too thin, you likely needed a bit more cornstarch or didn't cook it long enough to activate the thickening properties.
Creative Variations
While vanilla pastry cream is classic, this recipe serves as an excellent base for countless variations. For chocolate pastry cream, add 3 ounces of finely chopped semisweet chocolate to the hot mixture before straining. Coffee lovers can infuse the milk with 2 tablespoons of espresso powder before heating. For citrus versions, add fresh lemon or orange zest to the milk during heating, then strain out before proceeding. Nut-flavored creams can be made by substituting a portion of the milk with hazelnut or almond milk, plus a dash of extract for enhanced flavor.
Recipe FAQs
- → Can I use vanilla extract instead of vanilla bean paste?
Yes, vanilla extract works well as a substitute. Use the same quantity as the recipe specifies for vanilla paste.
- → How do I prevent lumps in the cream?
Cook the mixture over low heat and whisk continuously. Strain the final mixture for a smooth texture if lumps form.
- → How should I store it?
Refrigerate in an airtight container for up to 3-5 days. Cover with plastic wrap directly on the surface to avoid skin formation.
- → Can I make it ahead of time?
Yes, you can prepare it a day in advance. Chill it thoroughly and give it a good mix before using.
- → What desserts can this filling be used for?
It’s perfect for cream puffs, éclairs, fruit tarts, layer cakes, and as a filling for pastries.