
 Save
Save
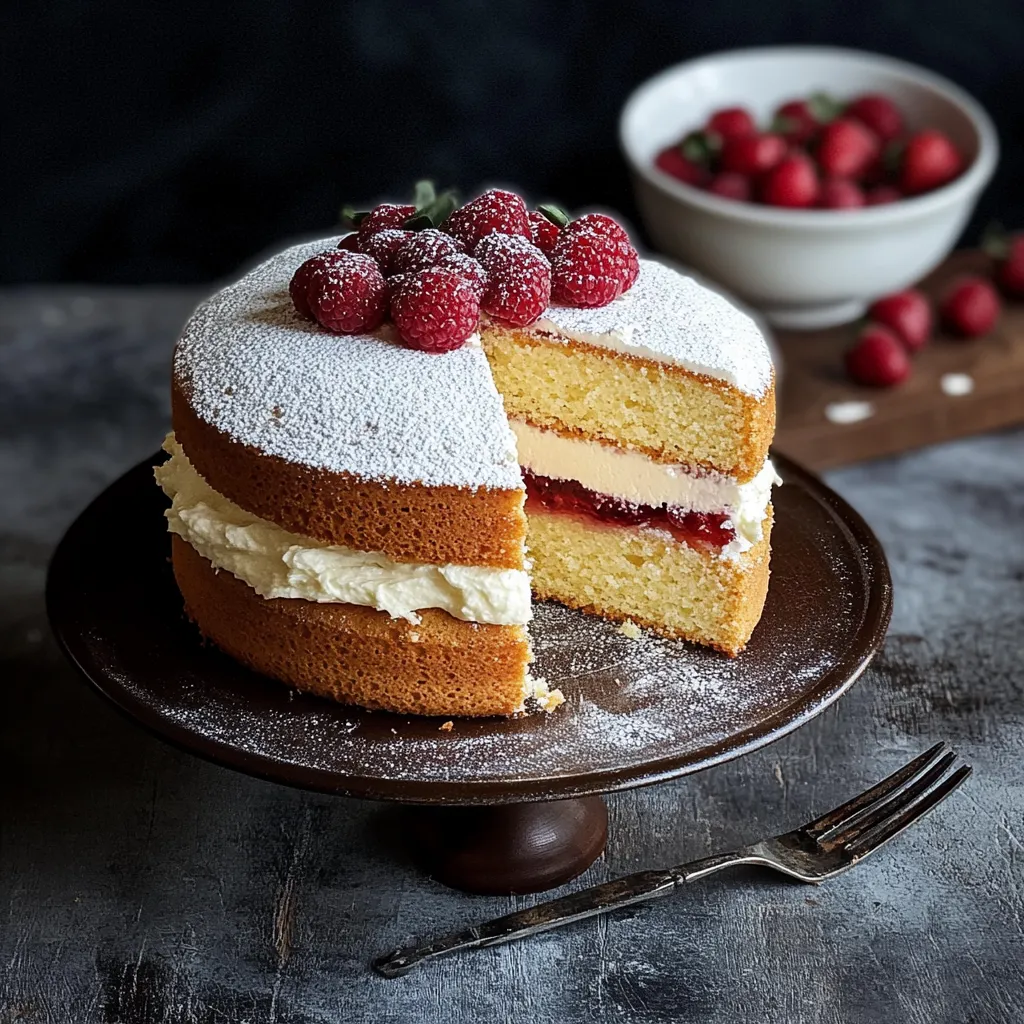
This classic Victoria Sponge cake brings together light, fluffy vanilla sponge layers with sweet jam and freshly whipped cream for a quintessentially British treat. Perfect for afternoon tea or special occasions, this traditional recipe delivers a balance of textures and flavors that has stood the test of time.
I first made this Victoria Sponge for my daughter's birthday tea party, and it has become our family's go-to celebration cake. The simple elegance of this classic never fails to impress guests who often ask for the recipe before leaving.
Ingredients
- Unsalted Butter: room temperature Ensuring the butter is properly softened is crucial for achieving that light, fluffy texture
- Caster Sugar: provides the perfect level of sweetness while dissolving easily into the batter
- Large Eggs: add richness and help create the cake's structure use room temperature eggs for best results
- Self Raising Flour: creates the perfect rise without needing additional leavening agents
- Milk: adds moisture to prevent a dry cake look for fresh, cold milk
- Double Cream: whips beautifully for the filling and provides luxurious richness
- Jam: choose a good quality jam as it provides the main flavor contrast
- Vanilla Extract: optional but adds depth to the cream filling
- Icing Sugar: gives a delicate sweetness to the cream and pretty finish to the cake
Step-by-Step Instructions
- Prepare Your Equipment:
- Preheat your oven to 160°C standard or 140°C fan. Take time to properly grease and line your cake tins with baking paper, ensuring the paper extends slightly above the edges for easy removal. Using springform tins makes this process much easier.
- Create The Base Mixture:
- In a large bowl, cream together the room temperature butter and caster sugar for at least 5 minutes until the mixture becomes noticeably lighter in both color and texture. This extended mixing incorporates air that is crucial for a light sponge.
- Add The Wet Ingredients:
- Add each egg individually, mixing thoroughly after each addition to prevent curdling. If the mixture looks like it might split, add a tablespoon of the measured flour. Finally, incorporate the milk which will loosen the batter slightly.
- Incorporate The Flour:
- Using a large metal spoon or rubber spatula, gently fold the sieved flour into the mixture with a cutting motion rather than stirring. Work in batches, maintaining as much air as possible in the batter for a light cake.
- Bake The Cakes:
- Divide the batter evenly between your prepared tins and smooth the tops with a spatula. Bake for 35-40 minutes, avoiding opening the oven for the first 30 minutes to prevent sinking. The cakes are done when they're golden brown and a skewer inserted into the center comes out clean.
- Prepare The Filling:
- Once the cakes are completely cool, whip the double cream until it forms soft peaks. If using, add vanilla extract and icing sugar for extra flavor. Whip just until the cream holds its shape when the beaters are lifted.
- Assemble The Cake:
- Place one cake layer flat side up on your serving plate. Spread an even layer of jam across the entire surface, then carefully top with the whipped cream, either spreading it with a palette knife or piping for a more decorative finish.
- Add The Final Touches:
- Gently place the second cake layer on top, flat side down. Press down very lightly to secure, then dust the top with sieved icing sugar for a classic, elegant finish.
My grandmother always said the secret to a perfect Victoria Sponge is patience when creaming the butter and sugar. She would set a kitchen timer for five full minutes and insist on beating the mixture until it was almost white. That attention to detail makes all the difference in achieving that signature light texture.
The History Behind Victoria Sponge
This cake was named after Queen Victoria, who was known to enjoy a slice with her afternoon tea. The original recipe dates back to the 1800s when baking powder became commercially available, allowing for the creation of lighter cakes. Traditional Victoria Sponge would have used jam only, with the cream being a more modern addition. Making this cake connects you to centuries of British baking tradition.
Storage And Make-Ahead Tips
While Victoria Sponge is best enjoyed fresh on the day it's made, you can prepare components ahead of time. The sponge layers can be baked a day in advance and stored in an airtight container. For storing the assembled cake, keep it covered in the refrigerator for 2-3 days, but remember to bring it to room temperature for about 30 minutes before serving to restore its soft texture and full flavor.
Common Troubleshooting
If your cake sinks in the middle, the most likely culprit is opening the oven door too early or overbeating the batter after adding flour. For cakes that are too dense, ensure your butter is properly softened and that you've creamed it with the sugar long enough to incorporate sufficient air. If your cake is dry, it may have been overbaked by just a few minutes, so always check it at the minimum baking time.
Recipe FAQs
- → How do I ensure a fluffy sponge texture?
Make sure to cream the butter and sugar well until light and fluffy, and fold in the flour gently to retain airiness.
- → Can I use a different jam for the filling?
Yes, you can use any jam you prefer. Raspberry, strawberry, and apricot are popular choices.
- → What if I don't have self-raising flour?
You can make self-raising flour by adding 1 teaspoon of baking powder for every 100g of plain flour and mixing thoroughly.
- → How should I store the cake?
Store the cake covered in the fridge for 2-3 days. Let it come to room temperature before serving for the best flavor.
- → Can I make this cake ahead of time?
It's best enjoyed fresh, but you can prepare the cake layers a day in advance and decorate them just before serving.