
 Pin
Pin
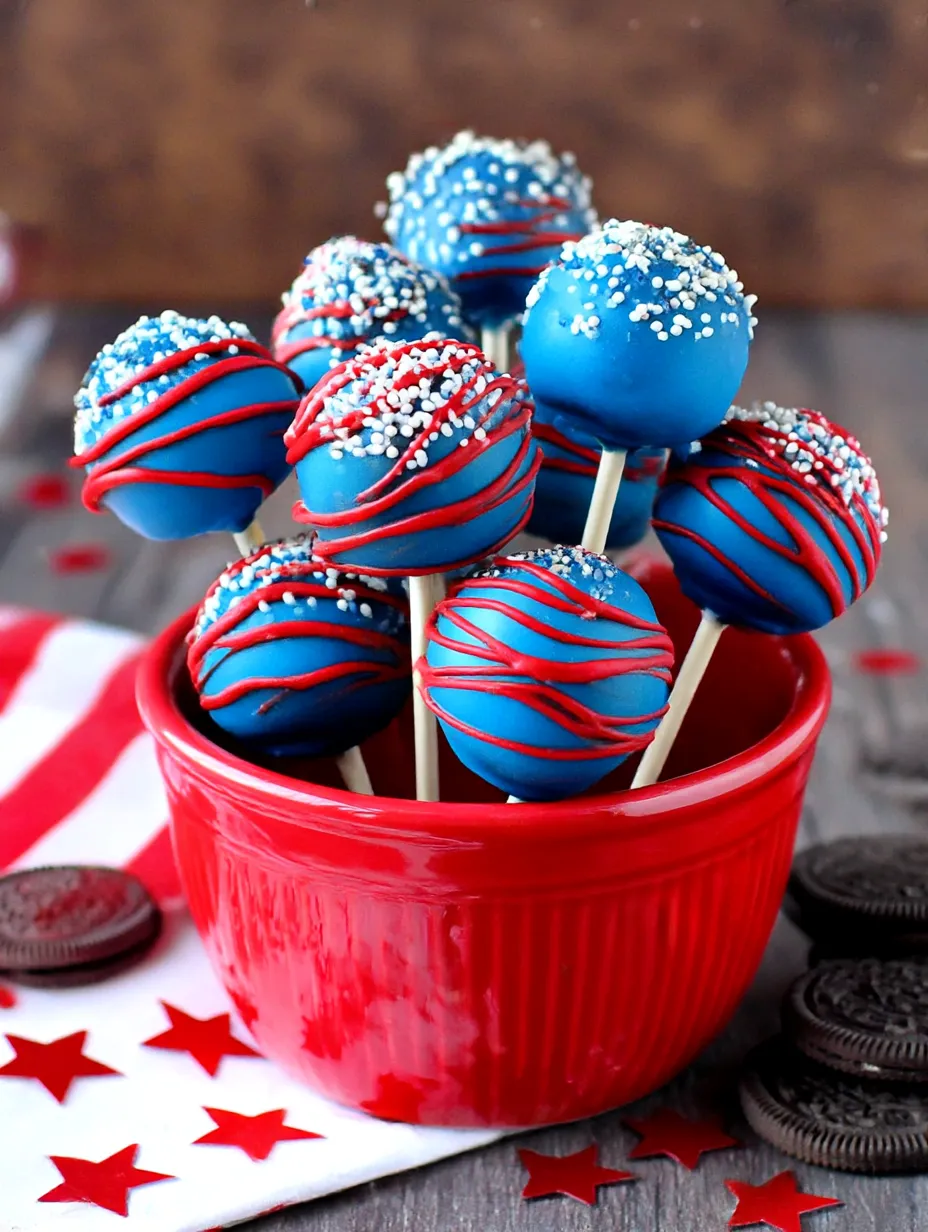
Red White and Blue Oreo Pops are my go to fun dessert whenever I need something easy yet festive for summer picnics and backyard Fourth of July parties Each pop is made from classic Oreos dipped in creamy candy melts with a patriotic splash of red white and blue sprinkles They deliver crunchy chocolate and sweet vanilla in every bite with a vibrant pop of color that always gets smiles
The first time I made these everyone crowded around the kitchen to decorate and it became a tradition for our family barbecue
Ingredients
- Oreo cookies: Classic or Double Stuf versions work Double Stuf let the sticks stay in place better
- White candy melts or white chocolate chips: Smooth texture and neutral sweet base Use high quality melts for best finish and shine
- Red candy melts: For a bold festive drizzle Pick a brand with bright true red color
- Blue candy melts: Balances the patriotic palette and gives eye catching visual contrast
- Red white and blue sprinkles: Bring the theme to life Choose ones with a mix of shapes and shimmer for best effect
- Lollipop sticks: The sturdy handle for dipping and serving Use food safe sticks found in the baking aisle
Step by Step Instructions
- Separate the Oreos:
- Gently twist each Oreo cookie apart to keep the cream mostly on one half Try to avoid breaking the cookie
- Add the Lollipop Stick:
- Melt a little of the white candy melts Dip the tip of a lollipop stick in the melt then press it gently into the creamy side of the cookie Replace the top and press lightly so it holds together Let these sit for about five minutes to set
- Coat the Oreos in White:
- Fully melt the remaining white candy melts in a microwave safe bowl Dip each Oreo pop straight down into the candy covering all sides Lift out and let excess drip back into the bowl Gently tap your wrist for a smooth glossy finish
- Set the Pops:
- Lay dipped Oreo pops on a baking sheet lined with parchment paper This keeps them from sticking or smudging Let the pops sit until the coating is mostly set
- Decorate with Colorful Drizzles:
- Melt red and blue candy melts separately Drizzle each color over the white candy coating using a spoon or transfer the melts into piping bags for more control
- Add Sprinkles:
- Quickly sprinkle red white and blue decorations over the drizzled pops before the candy hardens This way the sprinkles stick well
- Let Them Harden:
- Let Oreo pops stand at room temperature until fully firm If you need them faster place in the refrigerator for a few minutes
 Pin
Pin
The sprinkles are always my favorite part I let my niece pick her own mix and she makes each pop totally unique One year we even had a little Oreo pop contest at our July Fourth picnic
Storage Tips
Once decorated keep the Oreo pops in a single layer in an airtight container If stacking use parchment between layers to avoid smudging For best texture eat within seven days Store in the fridge if your kitchen is warm to prevent the candy from getting sticky
Ingredient Substitutions
If you cannot find red or blue candy melts you can use colored white chocolate with oil based gel food coloring For pops without dairy look for vegan sandwich cookies and dairy free melts Gluten free sandwich cookies also work well
Creative Serving Suggestions
Arrange the pops in a mason jar or a decorated vase for a colorful centerpiece Let everyone choose their own from a standing bouquet Wrap pops individually with cellophane and ribbon for party favors or bake sale treats
A Patriotic Sweet Tradition
Oreo pops first became popular as an easy homemade treat for holidays and birthdays This red white and blue version is perfect for summer celebrations and the simple steps make it ideal for making memories together in the kitchen
Recipe FAQs
- → How do I keep the Oreo pops from falling apart?
Use Double Stuf Oreos for a thicker filling that better secures the stick. Chill the pops briefly after inserting the stick to help them set before dipping.
- → Can I use chocolate instead of candy melts?
Yes, white chocolate chips are a good alternative. Simply melt them gently and use in place of candy melts for coating and drizzling.
- → How should I store the finished Oreo pops?
Place pops in an airtight container with parchment between layers. Store at room temperature for up to a week, or refrigerate in warm weather.
- → Can I make these in advance for a party?
Absolutely! Prepare a day or two ahead and store in an airtight container to keep them fresh and ready for serving.
- → How can I create different designs on the pops?
Experiment with various drizzle patterns or use different sprinkle mixes. You can also dip only part of each Oreo for a unique look.