
 Pin
Pin
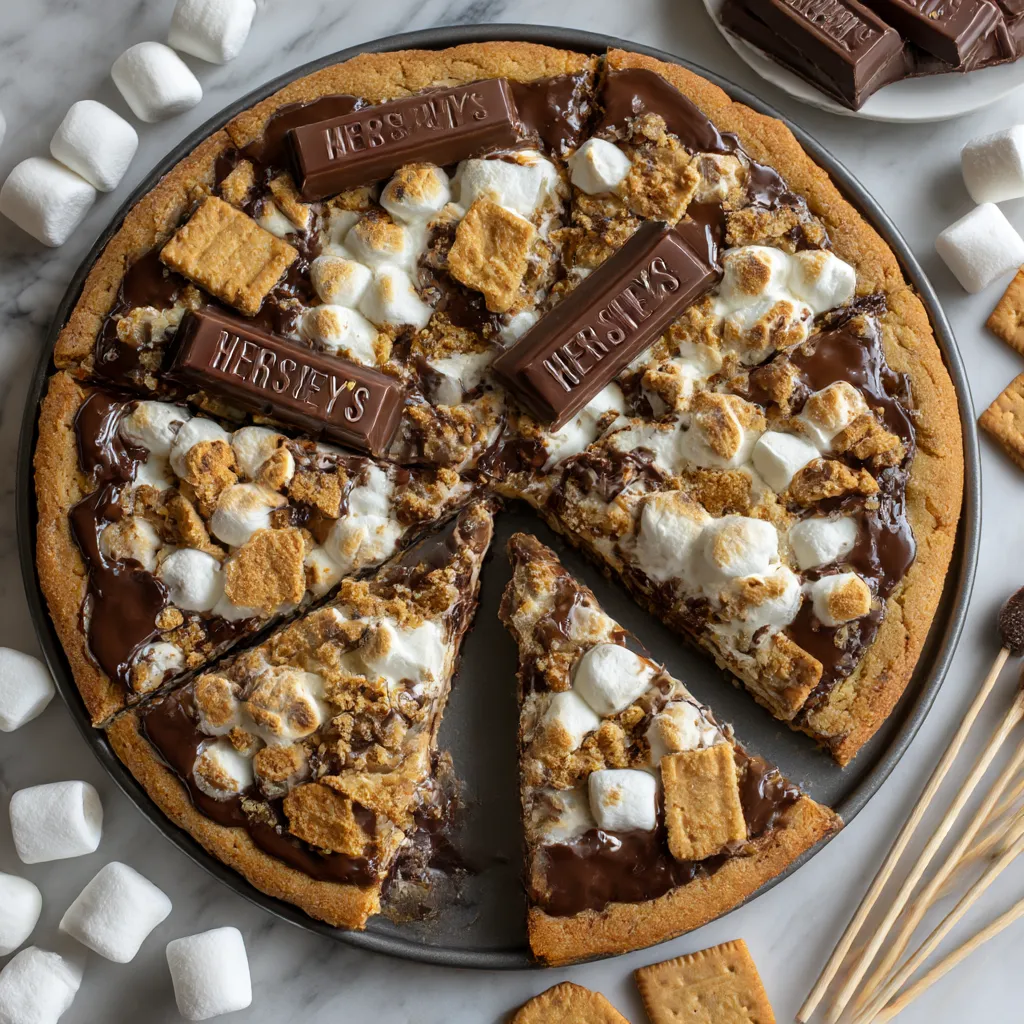
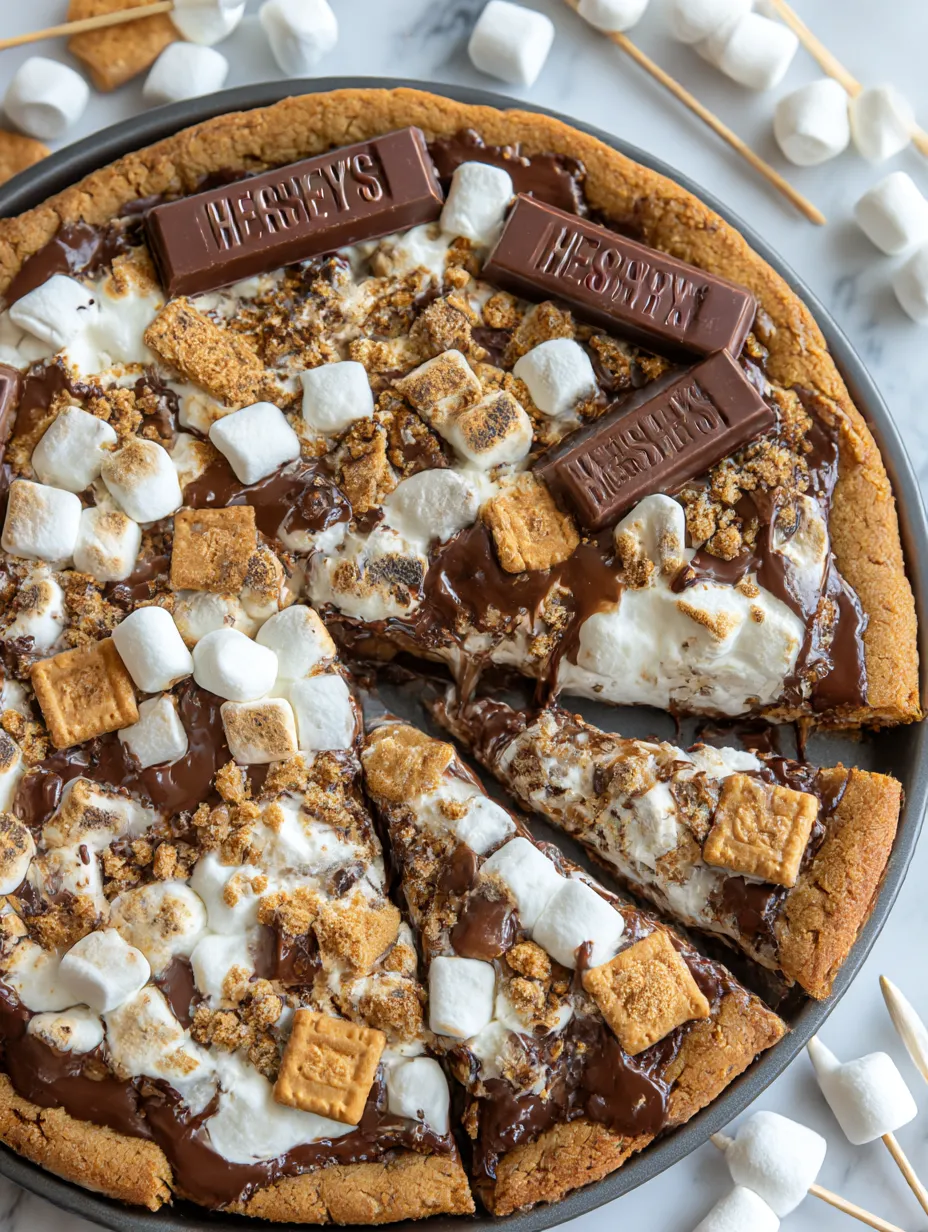
S'mores Pizza transforms everyone’s favorite campfire treat into one giant, crowd-pleasing cookie pizza. With a chewy graham-flavored cookie crust, creamy melted milk chocolate, and marshmallows perfectly toasted on top, this dessert brings out the nostalgia and fun in every bite.
I first made this S’mores Pizza for a family movie night and watched everyone gather around the pan as the marshmallows turned golden. It is officially requested for every birthday sleepover now.
Ingredients
- All-purpose flour: gives structure to the cookie crust Look for fresh flour without any odor for best results
- Graham cracker crumbs: add signature s’mores flavor Use plain graham crackers and crush them yourself for freshest taste
- Baking soda: makes the crust light and chewy Ensure your baking soda is not expired for best rise
- Salt: balances sweetness and brings out the chocolate Use fine sea salt or kosher salt for even seasoning
- Unsalted butter: keeps the crust rich and tender Choose high quality butter for the best texture
- Light brown sugar: deepens flavor and helps with chewiness Always use fresh soft brown sugar for easy mixing
- Granulated sugar: adds sweetness and helps structure Make sure it is lump free for an even blend
- Large eggs: bind the dough together and add richness Use room temperature eggs for smooth mixing
- Vanilla extract: boosts flavor depth Opt for pure vanilla for the most fragrant taste
- Hershey’s milk chocolate chips: melt to create a classic creamy topping Choose fresh chocolate chips for best melting
- Mini marshmallows: toast easily and give that signature gooey topping Check your marshmallows are soft and not hard or sticky
- Hershey chocolate bars: break into chunks for an authentic touch Use new unopened bars to keep them from blooming
- Graham cracker sheet pieces: for extra garnish Crunchy shards on top add a little crisp
Step-by-Step Instructions
- Make the Dough:
- Start by whisking together the all-purpose flour, graham cracker crumbs, baking soda, and salt in a small mixing bowl so all dry ingredients are evenly blended
- Cream the Butter and Sugars:
- In a larger bowl, beat the softened butter with both brown and granulated sugars on medium-high speed until very pale and fluffy This step builds an airy cookie base and usually takes about three minutes Keep scraping down the bowl to make sure all the butter gets whipped
- Incorporate Eggs and Vanilla:
- Add in the eggs one at a time making sure each egg is fully mixed before adding the next Finish by blending in the vanilla extract for all-over flavor
- Mix in the Dry Ingredients:
- Carefully add the dry mix into the wet mixture and blend on low speed Stop as soon as the dough comes together and there are no streaks or flour pockets left Overmixing makes the cookie too dense
- Shape and Chill the Dough:
- Lightly moisten your hands so the dough does not stick then gently press it in an even layer onto the pizza pan Make sure to leave about a one inch edge for the crust to expand Cover with plastic wrap and refrigerate for one hour Chilling stops spreading
- Bake the Crust:
- Preheat your oven to three fifty degrees Fahrenheit Once the dough has chilled remove the plastic and bake for twenty two to twenty five minutes until the edges turn golden and the center is just set Do not overbake or the pizza will get dry
- Add the Chocolate Layer:
- Pull the pizza from the oven and scatter the milk chocolate chips all over the hot crust Place it back in the oven for just one more minute The chocolate will melt and make spreading easy Use a spatula to smooth it out but leave a border along the edge
- Top with Marshmallows and Broil:
- Cover the entire chocolate layer with mini marshmallows and switch the oven to broil on low Place back in the oven for just a couple of minutes Watch closely until the marshmallows puff up and turn toasty golden brown They can burn quickly so don’t walk away
- Add Final Garnishes:
- Finish by adding broken chocolate bar pieces and graham cracker shards for extra crunch Press them gently into the warm marshmallow so they stick Let cool slightly before slicing
 Pin
Pin
My favorite part is always pressing chunks of milk chocolate right on that warm crust so they get melty around the edges That smell is irresistible It always reminds me of camping trips with my cousins where we would try to toast marshmallows just right without dropping them in the fire
Storage Tips
Wrap the cooled pizza tightly and store at room temperature for up to two days For longer storage keep leftovers in the fridge and rewarm gently in the oven to restore that gooey marshmallow texture If you want to prep in advance bake the crust then add toppings and finish broiling just before serving
Ingredient Substitutions
Try semisweet chocolate chips for a richer taste if you want something less sweet For a nutty spin swirl in a little peanut butter with the melted chocolate If you can’t find mini marshmallows just cut larger ones into pieces for easier toasting Gluten free flour blends work for the crust with similar results and dairy free butter like vegan sticks can substitute if needed
Serving Suggestions
S’mores Pizza is best enjoyed warm right out of the oven Slice it like a regular pizza and serve with tall glasses of cold milk or even vanilla ice cream For parties let guests top their own slices with extra chocolate chips or candy bits for the ultimate s’mores bar
The Story Behind S'mores Pizza
This playful dessert takes inspiration straight from classic American campfires The trio of graham cookies melted chocolate and gooey toasted marshmallows first appeared in early Girl Scout handbooks While the original is roasted on a stick S’mores Pizza makes it easy for everyone to have a slice of that nostalgia no sticks required
Recipe FAQs
- → Can I use semi-sweet chocolate instead of milk chocolate?
Yes, semi-sweet chocolate chips or bars work well if you prefer a richer chocolate flavor or less sweetness. Adjust to taste.
- → Why does the dough need to chill before baking?
Chilling the dough helps prevent excess spreading, yielding a thick, chewy crust instead of a thin one.
- → Do I need a 16-inch pizza pan?
A 16-inch pan is best for even baking. If not available, divide dough between smaller pans to avoid overflow.
- → How do I toast the marshmallows perfectly?
Broil on low and watch closely; marshmallows toast and caramelize in just a few minutes. Remove as soon as golden.
- → Is it possible to prepare ahead?
You can make and chill the dough ahead of time. Assemble and bake just before serving for best texture.
- → Can I add extra toppings?
Absolutely! Try crushed nuts, more graham crumbs, or a drizzle of caramel for extra flavor and crunch.