
 Save
Save
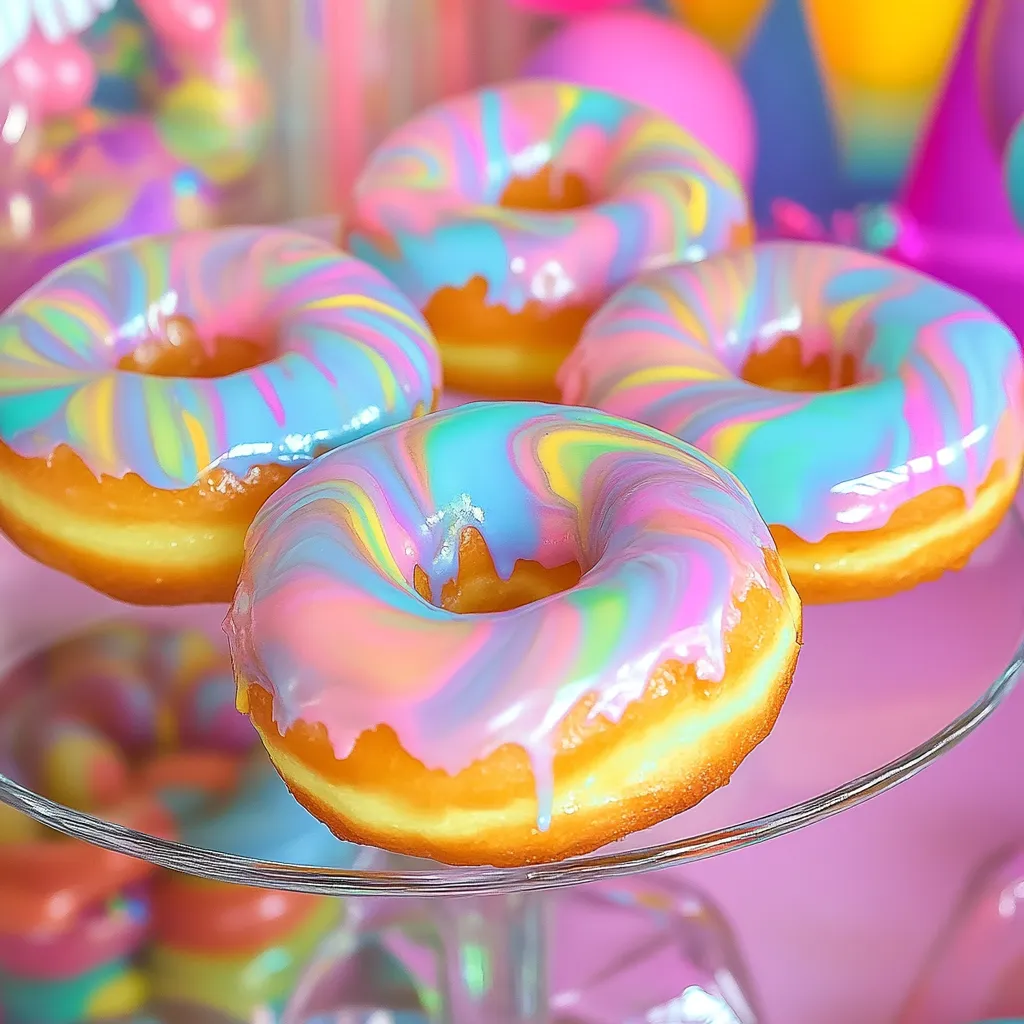
This marbled rainbow donut recipe has become my go-to centerpiece for children's parties and special breakfasts. The striking swirls of color transform simple store-bought donuts into magical creations that never fail to impress guests of all ages.
I first created these for my daughter's unicorn-themed birthday party, and the gasps from both children and adults when they saw the vibrant display made all the simple prep work worthwhile. Now they're requested for almost every special occasion in our home.
Ingredients
- Plain non-glazed donuts: From local donut shop provides the perfect blank canvas for your rainbow masterpiece
- Powdered sugar: Creates the smooth base for your colorful glaze
- Water: Just enough to achieve the perfect dripping consistency
- McCormick Neon Food Coloring: Gives you those vibrant unicorn-worthy hues
- McCormick Regular Food Coloring: Complements the neon colors for a full rainbow effect
- Wax paper: Essential for allowing donuts to dry without sticking
Step-by-Step Instructions
- Prepare the Sugar Glaze:
- Measure half cup powdered sugar into each of six small bowls. Add one teaspoon of water to each bowl and stir until you achieve a thick syrupy consistency. The glaze should flow slowly but not be watery. Add food coloring two drops at a time until you reach your desired vibrancy. For best results create six distinct colors pink, yellow, green, blue, purple, and orange.
- Create the Marbling Effect:
- Using a spoon, draw thick lines of each colored glaze side by side on a plate. The colors will naturally begin to blend at the edges. Take a toothpick and gently swirl the colors together, creating your preferred pattern. Be careful not to overmix or you will lose the distinct color separation that makes the marbling so beautiful.
- Glaze the Donuts:
- Place each donut face down into the swirled glaze, pressing gently to ensure complete coverage. The trick is applying even pressure all around the donut. Use a toothpick to pop any air bubbles that form. Carefully lift the donut and place it glazed side up on wax paper. Refresh your marbled plate with new lines of glaze after every two or three donuts.
- Final Touches:
- Examine each donut for any bare spots. Once the first layer has partially set, you can apply a second coat if needed. Multiple layers actually create an even more dimensional effect with additional swirls and patterns. Allow donuts to dry completely for at least 4 hours or ideally overnight before serving.
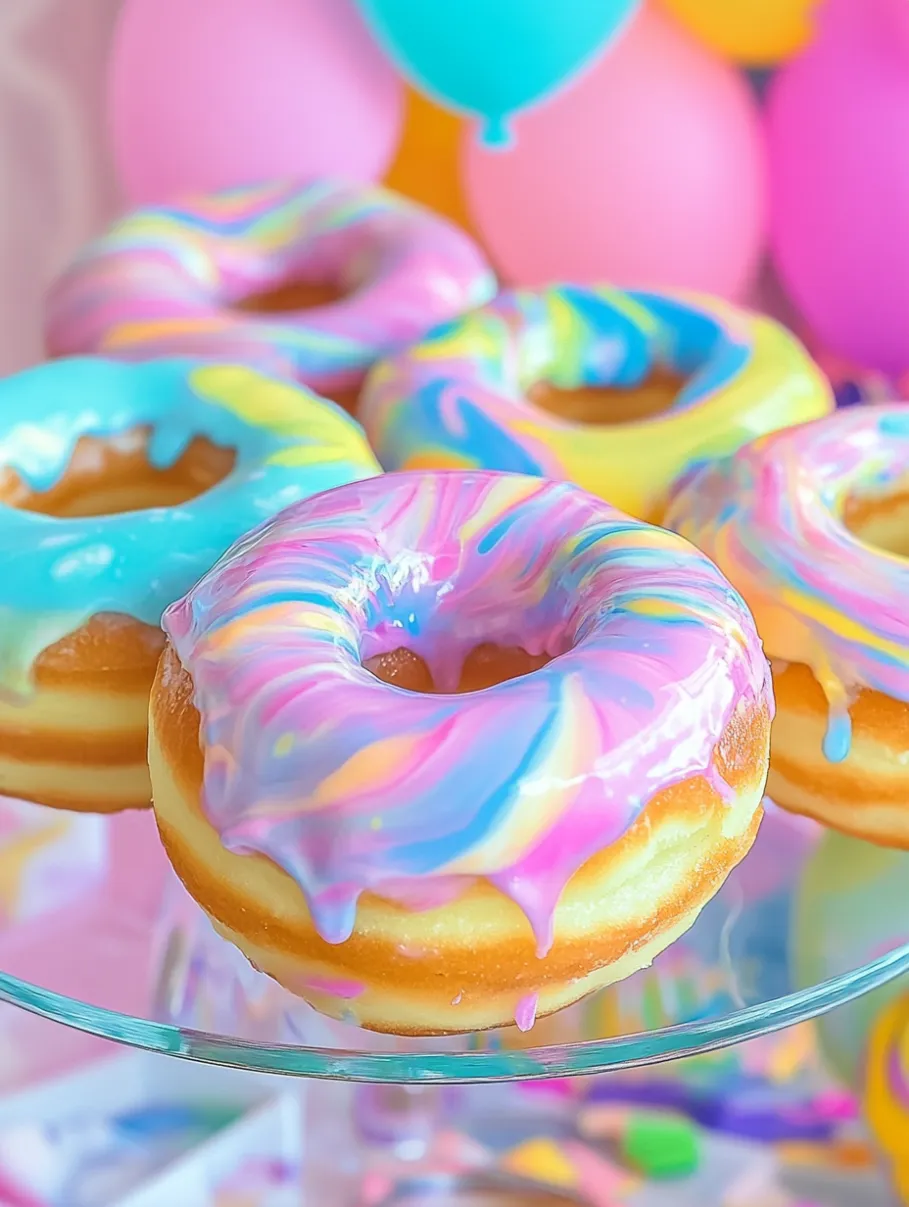
My favorite part of making these rainbow donuts is watching my children's faces light up when they see the swirls of color. There's something magical about transforming a simple donut into something so visually spectacular with such minimal effort. My daughter now calls them unicorn donuts and insists they have special powers.
Storage Tips
These marbled donuts should not be stored in an airtight container or refrigerator as the glaze will become sticky and lose its beautiful finish. Instead, place them on a plate and store uncovered on your counter for up to two days. If ants are a concern in your home, store them on a plate inside your microwave, not turned on of course, which provides an insect-proof environment.
Customization Ideas
While rainbow colors create a magical unicorn effect, you can easily adapt the color palette to match any theme. Try team colors for sports parties, pastel hues for baby showers, or holiday-specific combinations like red and green for Christmas. You can also add edible glitter or sprinkles while the glaze is still wet for extra sparkle. Just remember that simple is often more striking when it comes to the marbled effect.
Serving Suggestions
Display these donuts on a tiered cake stand for maximum visual impact at parties. For birthday celebrations, arrange them in a circle on a large platter and place a candle in the center. They pair wonderfully with colorful fruit skewers and milk served in mason jars with paper straws to continue the festive theme. At breakfast gatherings, balance the sweetness with a savory egg dish on the side.
Recipe FAQs
- → How do I mix the glaze colors?
Combine powdered sugar with water in small bowls, adding food coloring gradually until the desired shade is achieved. Use separate bowls for each color.
- → How can I create a marbled glaze effect?
Draw lines of colored glaze on a plate, swirl them lightly with a toothpick, and then dip each donut into the blended colors to create a marbled design.
- → Can I use store-bought donuts?
Yes, plain, non-glazed store-bought donuts work perfectly for this project.
- → How long should the glaze dry?
Let the glaze dry for 4 hours or overnight to ensure it's fully hardened before serving.
- → What should I do if the glaze is too thin?
If the glaze appears too thin, mix in more powdered sugar until the desired consistency is reached.