
 Save
Save
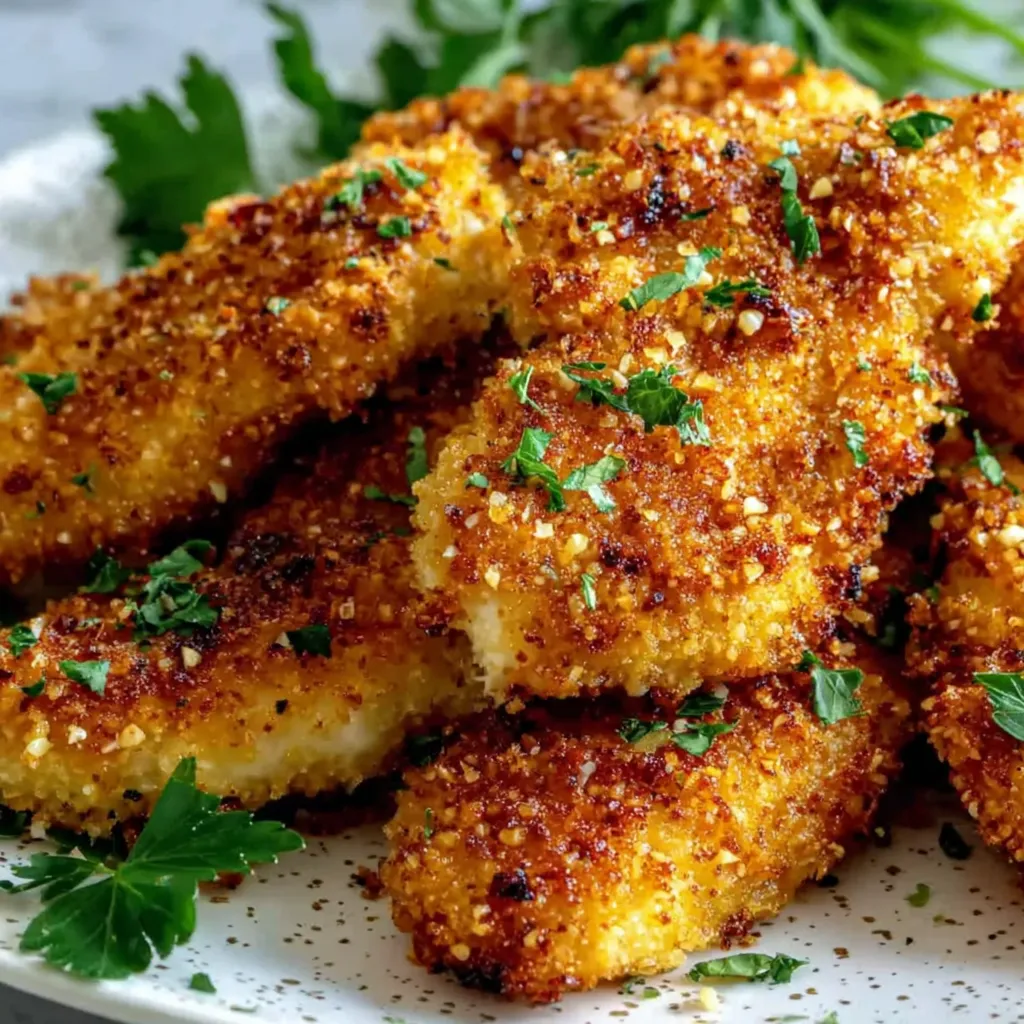
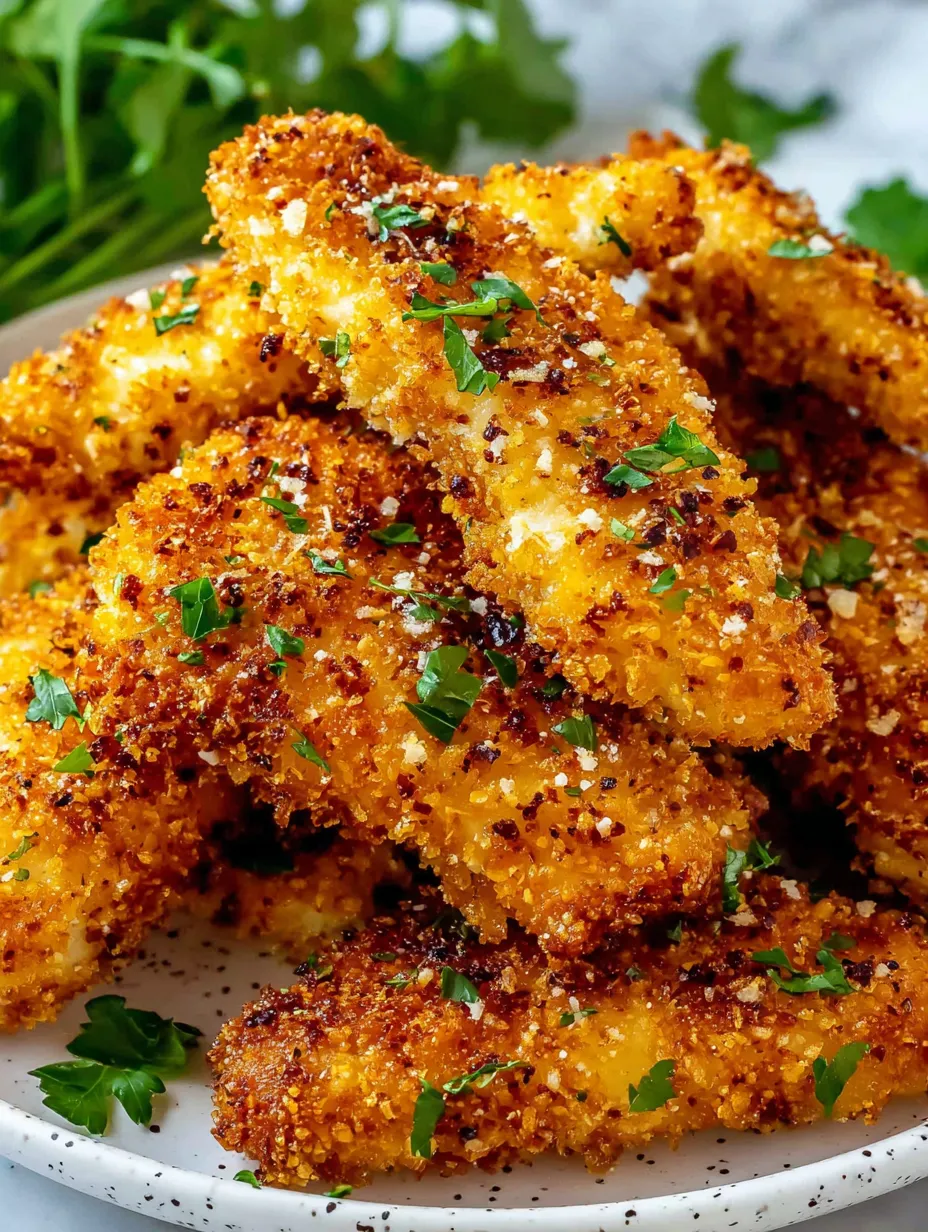
Homemade baked chicken tenders are a go-to for busy nights and healthier comfort food cravings. Juicy strips of chicken get a golden crisp from the oven making them perfect for family meals or prepping ahead for lunches. These tenders are crowd pleasers that are simple to whip up with plenty of options for extra flavor.
My family begs for these on game nights and they have saved me countless times when I need something reliable and quick. The fact that they reheat so well has made them a meal prep favorite for my week.
Ingredients
- Chicken breasts or chicken tenders: tender and juicy choose organic or air-chilled for the best texture
- Eggs: help the crumb coating stick the fresher the better for optimal results
- Panko breadcrumbs or regular breadcrumbs: essential for crunch go with panko for maximum crispiness
- Grated Parmesan cheese: optional but adds savory depth use real Parmigiano Reggiano if possible
- Garlic powder: gives every bite a little flavor boost always check that your spices are fragrant and not expired
- Paprika: brings gentle warmth and color try smoked paprika for a slightly deeper flavor
- Onion powder: supports the overall savory taste
- Salt: heightens all the flavors use fine sea salt for even seasoning
- Black pepper: adds brightness and tiny kick freshly cracked is best
- Olive oil spray: enhances the golden crisp skip aerosol brands and use a good mister spray for best coverage
Step-by-Step Instructions
- Prep the Chicken:
- If you are using chicken breasts slice them into strips about one inch wide. Chicken tenders can go straight to the next step since they are already the ideal shape.
- Prepare the Breading Stations:
- Crack the eggs into a bowl and whisk until smooth and pale yellow. In a separate bowl mix panko breadcrumbs Parmesan cheese garlic powder paprika onion powder salt and black pepper thoroughly with a fork to distribute the spices.
- Season the Chicken:
- Spread out the chicken strips on a plate and sprinkle a touch of salt and black pepper on all sides to make sure every piece tastes great throughout.
- Bread the Chicken:
- One at a time roll each chicken strip in the beaten eggs so it is completely coated and let any extra drip away. Place the strip into the breadcrumb mixture pressing gently on both sides so the crumbs and cheese stick firmly. For extra thick crunch you can repeat egg and breadcrumb for a double coat.
- Prepare the Baking Sheet:
- Lay down parchment paper or use a silicone baking mat on your baking sheet for easy cleanup. If you have a wire rack set it on top of the sheet so hot air crisps the chicken from all sides.
- Arrange the Chicken on the Baking Sheet:
- Lay the coated chicken tenders an inch or two apart on the prepared tray or rack so they bake evenly and stay crispy.
- Bake the Chicken Tenders:
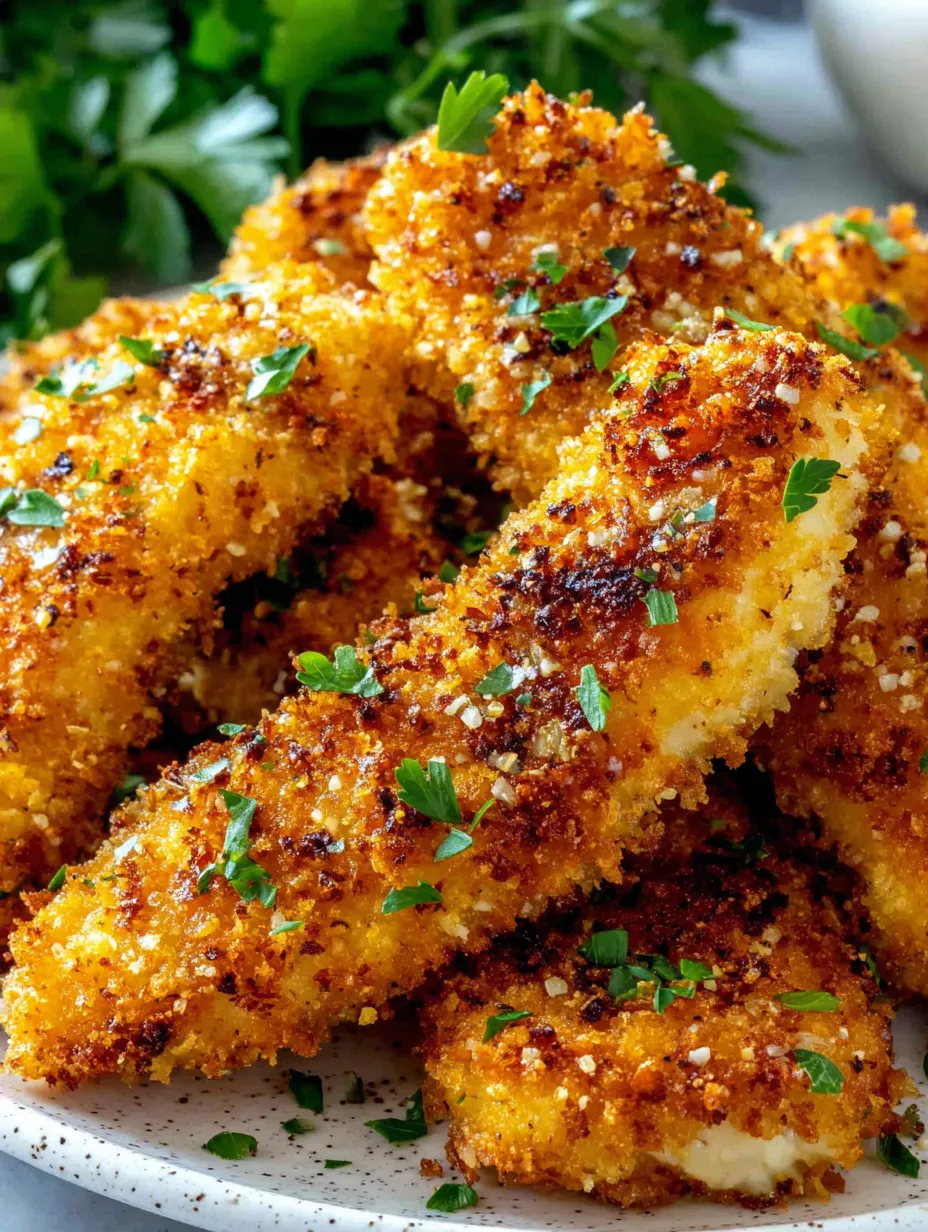
- Heat your oven to four hundred degrees Fahrenheit. Give the chicken tenders a light spray of olive oil to boost their crispness. Bake for about twenty to twenty five minutes flipping each halfway through to get both sides a perfect golden brown. Check that they reach an internal temperature of one hundred sixty five degrees Fahrenheit using an instant thermometer.
- Serve and Enjoy:
- Let the chicken tenders rest a couple minutes out of the oven so the juices settle. Serve hot with sauces like honey mustard ranch or barbecue and watch them disappear.
For me the magic is in using panko and a touch of real Parmesan cheese. It was my mom’s secret for getting that addictive crunchy bite and now it is the part my kids always comment on. These tenders have become our picnic and road trip staple because they never get soggy or bland.
Storage Tips
Leftovers will keep in an airtight container in the fridge for up to three days. To maintain maximum crunch reheat in the oven or in an air fryer for about five to seven minutes until heated through and crispy again. I do not recommend microwaving as this can make the coating soft.
Ingredient Substitutions
Gluten free panko works perfectly for anyone avoiding wheat. If you do not have Parmesan try pecorino romano or leave the cheese out for a dairy free version. You can swap chicken for turkey or even tofu slices just add a few minutes to the baking time for denser proteins.
Serving Suggestions
Pair these tenders with a fresh green salad roasted potatoes or your favorite slaw for a complete meal. They are also perfect tucked into wraps or sandwiches with lettuce and tomato. My family loves them with a trio of dips for dunking nights.
Cultural Context
Chicken tenders became a staple in American diners and restaurants in the eighties but this baked version captures the same comfort with a healthy twist. Baking keeps them light and lets you play with flavors to make them your own family classic.
Recipe FAQs
- → How do you get extra crunchy baked chicken tenders?
For maximum crunch, use panko breadcrumbs and spray the breaded chicken lightly with olive oil before baking. Double dipping in egg and breadcrumbs also boosts crispiness.
- → Can I use chicken breasts instead of tenders?
Yes, simply slice chicken breasts into strips about 1-inch wide to mimic the shape and size of traditional tenders.
- → How can I ensure the chicken stays juicy?
Avoid overbaking and remove the tenders once they reach an internal temperature of 165°F. Letting them rest keeps juices inside.
- → Is it necessary to use Parmesan cheese?
Parmesan is optional but adds extra flavor. You can omit it or substitute your favorite finely grated cheese if desired.
- → What dipping sauces pair well?
Classic choices include honey mustard, ranch, BBQ sauce, or a spicy aioli for a kick of flavor.
- → Can these be prepared ahead of time?
Yes, breaded tenders can be refrigerated before baking or stored after baking and reheated for easy meal prep.