 Save
Save
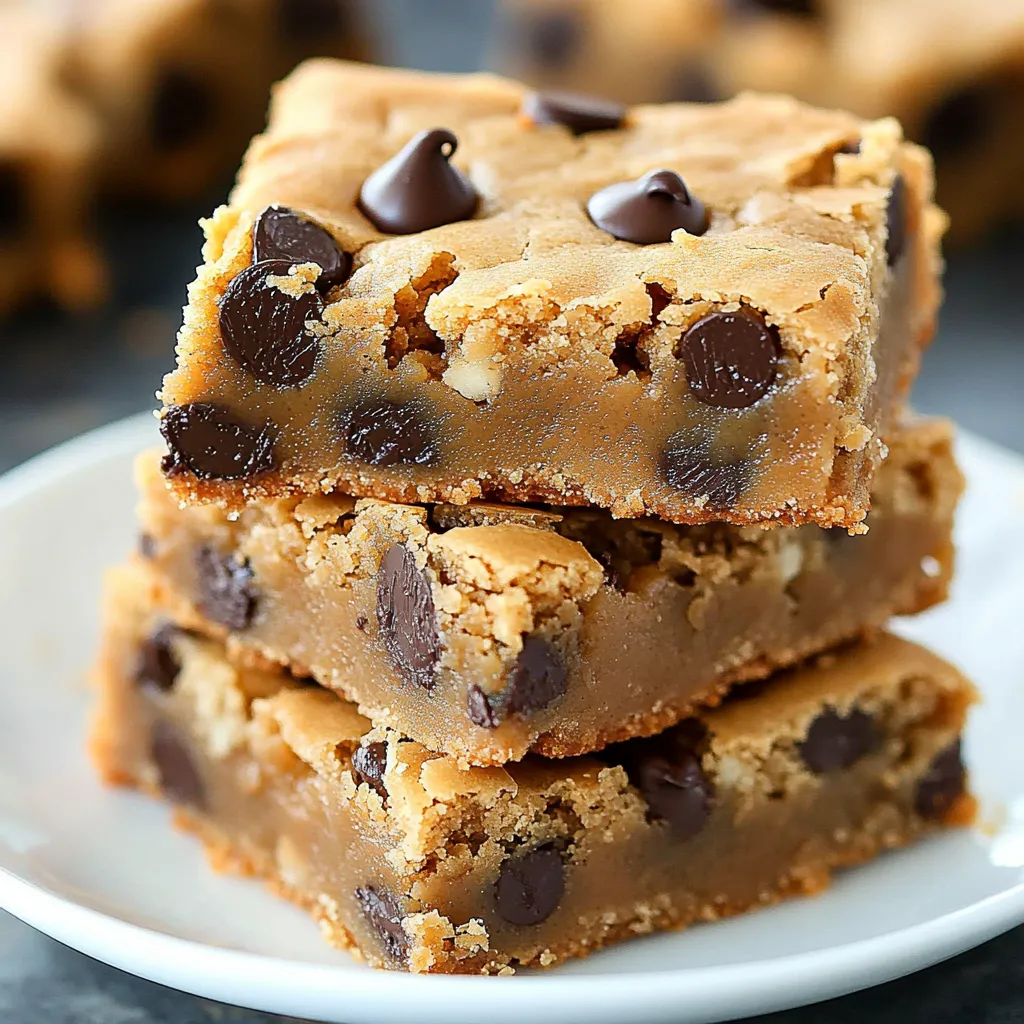
This peanut butter chocolate chip cookie bar recipe transforms classic cookies into gooey, irresistible bars that require less effort but deliver maximum flavor. The combination of melted butter and creamy peanut butter creates an incredibly soft texture that stays perfectly chewy for days.
I first made these bars when my nephew came to visit and requested something with peanut butter and chocolate. They disappeared so quickly that I now double the recipe whenever family comes over. The ease of making one big pan instead of multiple cookie batches has made these my go-to dessert for potlucks.
Ingredients
- Unsalted butter: Creates a tender crumb and rich base for the bars
- Creamy peanut butter: Provides the signature flavor; look for natural varieties without added sugar for best results
- Brown sugar: Gives these bars their chewy texture and deep caramel notes
- Granulated sugar: Balances the brown sugar and helps create crisp edges
- Egg plus egg yolk: Adds richness and contributes to the gooey center
- Vanilla extract: Enhances all the flavors, especially the chocolate
- All-purpose flour: Provides structure without making the bars too dense
- Baking powder: Gives just enough lift without making them cakey
- Salt: Balances the sweetness and enhances the peanut butter flavor
- Chocolate chips: Create pockets of melty goodness; use high-quality chips for best results
- Peanut butter chips (optional): Recommended for serious peanut butter lovers
Step-by-Step Instructions
- Prepare the Pan:
- Lining your pan with parchment paper is crucial for these gooey bars. Make sure to leave overhang on at least two sides so you can easily lift the entire batch out after baking. This prevents breaking the soft bars when removing them and makes cleanup much easier.
- Mix the Wet Ingredients:
- Whisking the melted butter with peanut butter creates a smooth emulsion that forms the base of your bars. The butter must be fully melted but not hot enough to cook the eggs. When adding the sugars, whisk vigorously for about 1 minute until the mixture lightens in color slightly. This incorporates air and helps develop that crinkly top.
- Add the Dry Ingredients:
- When incorporating the flour mixture, use a gentle hand and stop mixing as soon as no dry streaks remain. Overmixing develops gluten which leads to tough rather than tender bars. The dough will be quite thick at this stage which helps suspend all those chocolate chips.
- Bake with Precision:
- The most common mistake is overbaking these bars. They should look slightly underdone in the center when you remove them from the oven. The residual heat from the pan will continue cooking them as they cool. For the perfect gooey texture, look for set edges with a center that still looks slightly soft but not raw.
My absolute favorite part of this recipe is the contrast between the slightly crisp edges and the ultra gooey center. My husband always claims the corner pieces while I go straight for the center. We've had many playful arguments about which is truly superior, though I suspect the real answer is that there's no bad piece in the entire pan.
Make-Ahead and Storage Options
These bars actually improve with a day of rest as the flavors meld together. Store them in an airtight container at room temperature with parchment paper between layers to prevent sticking. They'll stay fresh for up to 5 days, though they rarely last that long in my house.
For longer storage, wrap individual bars in plastic wrap then place in a freezer bag. They freeze beautifully for up to 3 months. You can enjoy them straight from the freezer for a chewy, cold treat or let them come to room temperature for about 30 minutes.
Creative Variations
While the classic recipe is perfect as is, there are endless ways to customize these bars. Try swirling in 1/4 cup of jam for a PB&J version. Replace half the chocolate chips with white chocolate chips for a more balanced sweetness. For a salty twist, sprinkle flaky sea salt on top right when they come out of the oven.
During the holidays, I love adding 1/2 cup of crushed candy canes for a festive peppermint chocolate peanut butter bar that always disappears at cookie exchanges. The minty crunch against the gooey peanut butter base creates an unexpected but delightful flavor combination.
Serving Suggestions
These bars shine on their own but become absolutely decadent when served warm with a scoop of vanilla ice cream on top. The contrast between the cold ice cream and warm gooey bar creates a dessert experience that rivals any restaurant offering.
For a fun dessert board, cut these into mini bites and serve alongside fresh strawberries, banana slices, and a small bowl of extra melted chocolate for dipping. This interactive dessert has been the highlight of many of my casual dinner parties.
Recipe FAQs
- → How do I make the bars extra gooey?
Slightly underbake the bars and let them cool in the pan. This ensures the center remains soft and gooey while the edges set properly.
- → Can I add extra ingredients for texture?
Yes! You can add chopped peanuts, pretzels, or even coconut flakes to introduce a crunchy or chewy element to the bars.
- → What type of chocolate chips work best?
Semi-sweet chocolate chips work great for balanced sweetness, but you can use milk chocolate or dark chocolate based on your preference.
- → How long do these bars stay fresh?
Store the bars in an airtight container at room temperature for up to 5 days, or freeze them for up to 3 months for longer storage.
- → Can I make these bars peanut-free?
You can replace peanut butter with almond butter or sunflower seed butter for a peanut-free version. Adjust sweetness as needed.
