
 Save
Save
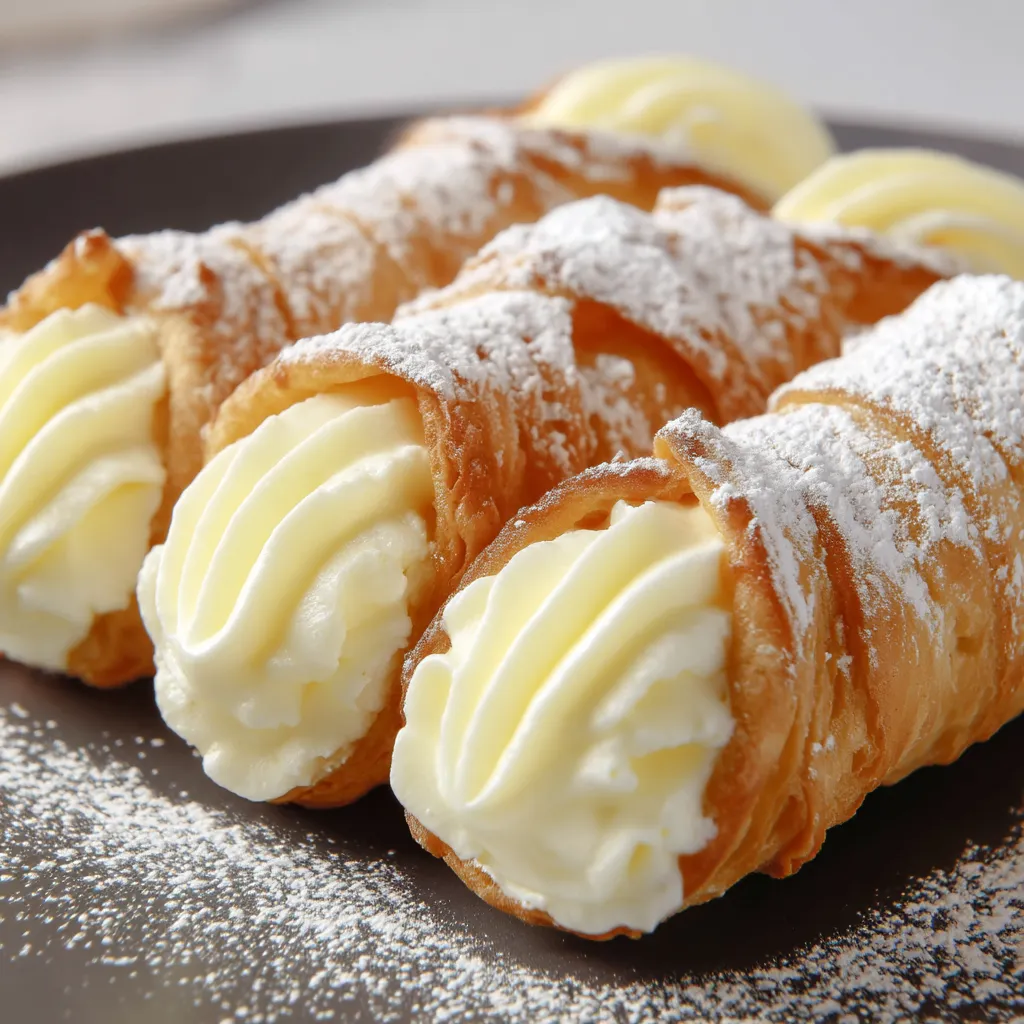
Italian Cream Stuffed Cannoncini bring a taste of Italy to your kitchen with their flaky, golden pastry wraps and smooth vanilla custard filling. This classic treat strikes that perfect balance of delicate and rich, hitting all the right notes when you want a dessert that feels special without demanding too much effort. Whether you are hosting friends for coffee or just want a sweet reward, these little horns of happiness always get rave reviews at my table.
Traveling in Italy I discovered these pastries at a bakery tucked next to a sunny piazza and after my first bite I knew I had to recreate them at home. Now they are a favorite in my family for birthdays and holidays.
Ingredients
- Egg yolks: give the custard cream a rich and silky body Use the freshest eggs you can find for fuller flavor
- All purpose flour: helps thicken the custard Choose a brand that is finely milled for the smoothest texture
- Sugar: brings sweet balance to both the custard and pastry Pick a pure cane sugar for best melt and shine
- Vanilla extract: infuses the cream with elegant warmth Real vanilla is worth the splurge here
- Milk: forms the creamy backbone of the custard Whole milk gives the best results for richness and mouthfeel
- Puff pastry: provides that signature shatteringly crisp shell Go for a quality all butter pastry from the freezer section
- Egg wash: makes the outside shiny and golden Pick a large egg and mix with just a bit of water
- Powdered sugar: dusted on top gives a finishing touch Use a fine mesh sieve for an even snowy layer
Step-by-Step Instructions
- Heat the Milk:
- Warm the milk gently in a saucepan just until steamy You do not want it to boil or develop a skin
- Mix the Yolks and Dry Ingredients:
- Whisk the egg yolks with sugar vanilla extract and flour in a bowl until the color lightens and the mix turns thick and glossy This makes the custard lush
- Temper and Cook the Custard:
- Slowly pour the warm milk into the egg mixture stirring constantly so the eggs do not scramble Pour everything back into the saucepan and cook over medium heat whisking all the time until the mixture thickens to a pudding like consistency
- Chill the Custard:
- Once thick transfer the custard to a shallow bowl Press plastic wrap right onto the surface to prevent a skin and chill for at least one hour until cold and set
- Prepare and Shape the Pastry:
- Roll out the puff pastry on a surface sprinkled with sugar to a nine by twelve inch rectangle The sugar gives extra caramelization Cut into twelve straight strips with a sharp knife
- Form the Horns:
- Starting from the pointed end gently wrap each strip around a metal horn mold overlapping just enough so the pastry holds together but does not get too thick
- Egg Wash and Bake:
- Arrange the wrapped molds seam side down on a baking sheet lined with parchment Lightly brush each with egg wash Bake at four hundred degrees for fifteen to twenty minutes until fragrant and golden brown
- Cool and Unmold:
- Let the shells cool enough to handle before easing them off the molds with a gentle twist Any stuck bits release with a light tap
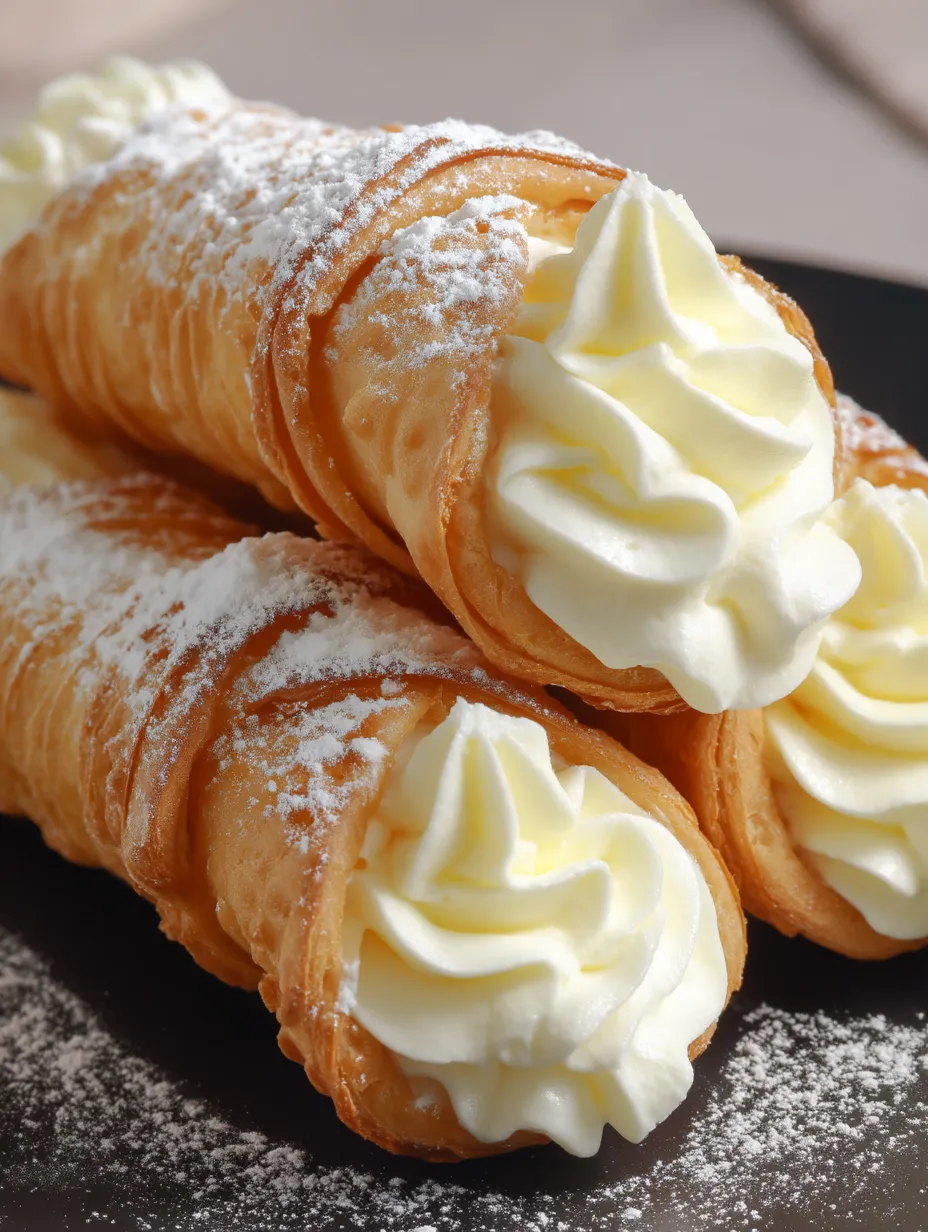
- Fill and Decorate:
- Use a piping bag with a round tip to fill each pastry horn with the chilled custard cream Dust generously with powdered sugar before arranging them on a platter to serve
Vanilla has always been my go to for flavoring the custard because it makes every bite feel like a hug After making these once for a family birthday tea my grandmother asked for them each year and now we have a tradition of baking them together
Storage tips
Cannoncini shells can be made and stored in an airtight tin for up to two days before filling Fill with cream just before serving to keep the pastry crisp Leftovers keep in the fridge for a day or two but are best enjoyed fresh
Ingredient substitutions
For a gluten free version swap both the flour in the cream and the pastry itself High quality gluten free puff pastry is now widely available and yields flaky results For dairy free needs use your favorite unsweetened plant milk in the custard
Serving suggestions
These look stunning arranged on a platter with berries or a few mint sprigs pair perfectly with espresso or after dinner drinks If you want to make them even more special drizzle with melted chocolate or sprinkle with crushed pistachios before serving
Cultural history
Cannoncini appear across much of Italy but are especially beloved in the north where pastries are an everyday joy They are cousins to the Sicilian cannoli but with a lighter flakier bite Their name means little cannon and one taste will let you know why they have delighted generations
Recipe FAQs
- → What is the best way to achieve flaky pastry shells?
Roll the puff pastry on a surface dusted with sugar for added flavor and texture, then wrap tightly around horn molds, ensuring the seams are secure before baking.
- → Can I prepare the custard cream ahead of time?
Yes, the custard cream can be made in advance and refrigerated for up to one day, allowing flavors to deepen and the filling to firm up.
- → Is it possible to make these gluten-free?
Substitute all-purpose flour with a gluten-free blend for the custard, and use quality gluten-free puff pastry to achieve similar flaky results.
- → How do I fill the pastry horns without breaking them?
Allow the pastry horns to cool completely before gently piping the custard cream using a piping bag. Handle the shells delicately to prevent cracking.
- → How should leftover cannoncini be stored?
Keep filled cannoncini in an airtight container in the refrigerator for up to two days. For best texture, fill just before serving.