
 Save
Save
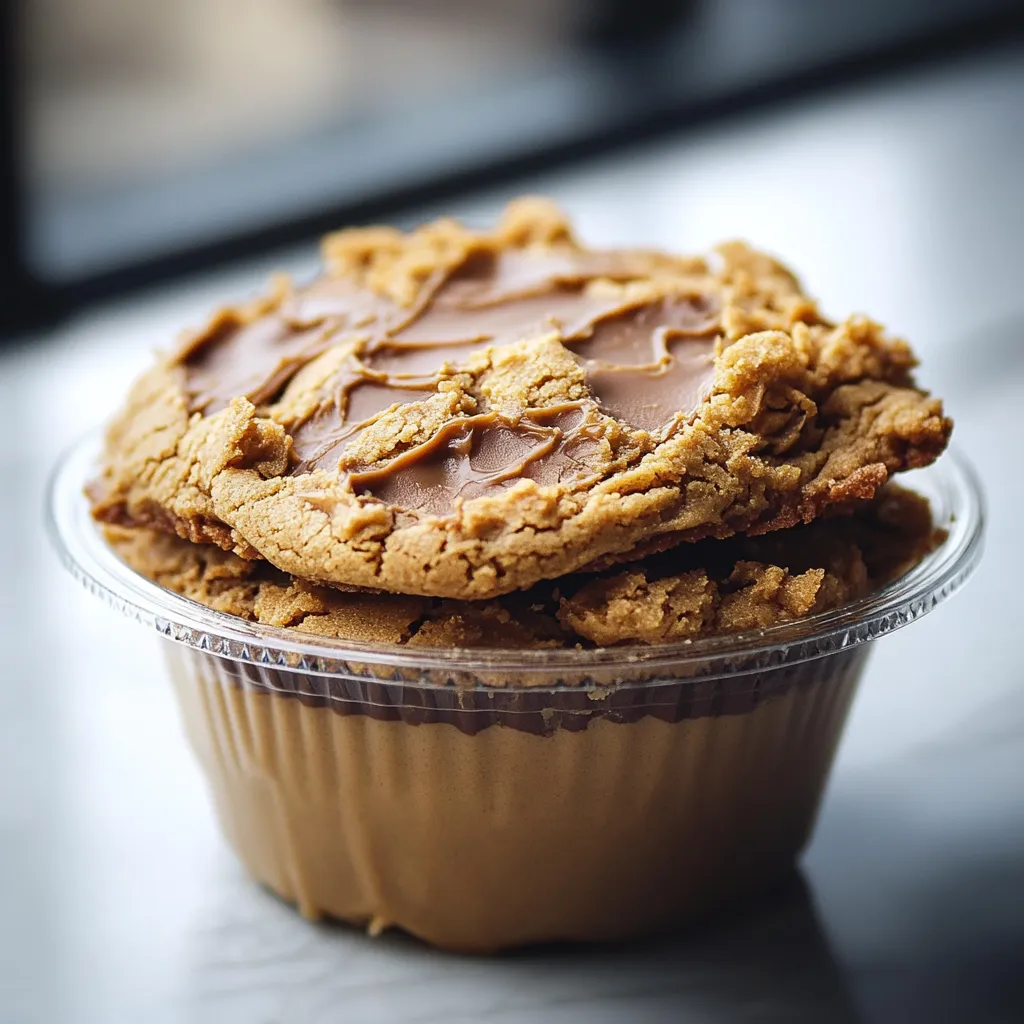
These peanut butter cup cookies combine the nostalgic comfort of homemade cookies with the irresistible surprise of a melty peanut butter cup center. This crowd-pleasing recipe transforms a simple cookie dough into something truly special, creating the perfect balance between soft cookie exterior and chocolate-peanut butter center.
I first made these cookies for my daughter's school bake sale, and they disappeared faster than anything else on the table. Now they've become our go-to recipe whenever we need a guaranteed crowd-pleaser or a quick chocolate fix.
- Unsalted butter: softened to room temperature for the richest flavor and best texture
- Creamy peanut butter: creates the smooth base for these cookies and complements the filling
- Granulated sugar: provides sweetness and helps create the perfect crisp edges
- Brown sugar: adds moisture and a deeper caramel flavor that enhances the peanut butter
- Large egg: binds everything together and adds richness
- Vanilla extract: enhances all the other flavors without overpowering
- All purpose flour: provides the structure for your cookies
- Baking soda: gives just the right amount of lift
- Salt: balances the sweetness and enhances the peanut butter flavor
- Mini Reese's peanut butter cups: are the star surprise center for each cookie
Step-by-Step Instructions
- Preheat and Prepare:
- Heat your oven to 350°F and prepare your mini muffin tin by either greasing each cup or using paper liners. The liners make for easier cleanup but greasing the pan directly creates a slightly crispier exterior on your cookies.
- Mix the Wet Ingredients:
- Beat the softened butter and peanut butter together until completely smooth with no lumps. This usually takes about 2 minutes with an electric mixer. Add both sugars and continue beating until the mixture becomes lighter in color and fluffy in texture. This incorporates air into the dough for a better texture. Add the egg and vanilla, mixing until just combined without overmixing.
- Combine Dry Ingredients:
- Whisk the flour, baking soda, and salt in a separate bowl to ensure even distribution of the leavening agent. This step prevents any bitter baking soda pockets in your final cookies.
- Create the Cookie Dough:
- Gradually add the dry ingredients to the wet mixture, mixing on low speed just until combined. Overmixing at this stage can develop too much gluten, resulting in tough cookies. The dough should be soft but not sticky enough to coat your fingers completely.
- Shape and Bake:
- Roll the dough into consistent 1inch balls using a cookie scoop or measuring tablespoon for uniformity. Place each ball into a cup of the prepared mini muffin tin. No need to press them down as they will spread naturally during baking. Bake for 8 to 10 minutes until the edges appear set but the centers still look slightly underdone.
- Add the Magic Center:
- Immediately after removing the pan from the oven, press an unwrapped peanut butter cup into the center of each cookie. The residual heat will slightly melt the chocolate while the cookie sets around it. Work quickly as the cookies are easier to fill while hot.
- Cool Properly:
- Allow the cookies to cool in the pan for 5 minutes to set their structure. Then carefully transfer to a wire rack to cool completely. The chocolate centers will remain soft longer than the cookie portion.
My absolute favorite thing about these cookies is watching people take their first bite. There's always that moment of surprise when they discover the peanut butter cup center. My husband actually proposed to me after I made these cookies for him on our third date. While I can't promise marriage proposals, I can guarantee smiles with every batch!
Storage Tips
These cookies maintain their best texture when stored in an airtight container at room temperature for up to 5 days. Place sheets of parchment paper between layers to prevent sticking. For longer storage, freeze the completely cooled cookies in a single layer, then transfer to a freezer bag once solid. Thaw at room temperature for about 30 minutes before serving.
Ingredient Swaps
If you prefer less sweetness, reduce both sugars by 2 tablespoons each. The cookies will still hold together beautifully. For those with peanut allergies, try using almond butter and unwrapped Hershey Kisses instead. Natural peanut butter works too, but you may need to add an extra tablespoon of flour to compensate for the increased oil content.
Serving Suggestions
Transform these cookies into an indulgent dessert by serving them slightly warm with a scoop of vanilla ice cream on top. The contrast between warm cookie and cold ice cream creates a delightful sensory experience. For holiday gatherings, arrange them on a tiered platter with other chocolate treats for a stunning dessert table centerpiece.
Cultural Context
The combination of peanut butter and chocolate has been an American favorite since the 1920s when Reese's Peanut Butter Cups were first introduced. These cookies honor that classic pairing while adding the homemade touch of a fresh cookie base. They represent the perfect blend of convenience and homemade craftsmanship that characterizes modern American baking.
Recipe FAQs
- → Can I use crunchy peanut butter instead of creamy?
Yes, using crunchy peanut butter adds a delightful texture to the cookies.
- → How can I store these cookies?
Store them in an airtight container at room temperature for up to 5 days, or freeze for up to 3 months.
- → Can I substitute Reese's cups with another candy?
Absolutely! You can use caramel-filled chocolates or any small candy of your choice.
- → How do I keep the cookies from crumbling?
Ensure you follow the ingredient measurements and let the cookies cool completely before handling.
- → Can I drizzle the cookies with chocolate?
Yes, drizzling melted chocolate on top adds an extra layer of flavor and visual appeal.