
 Save
Save
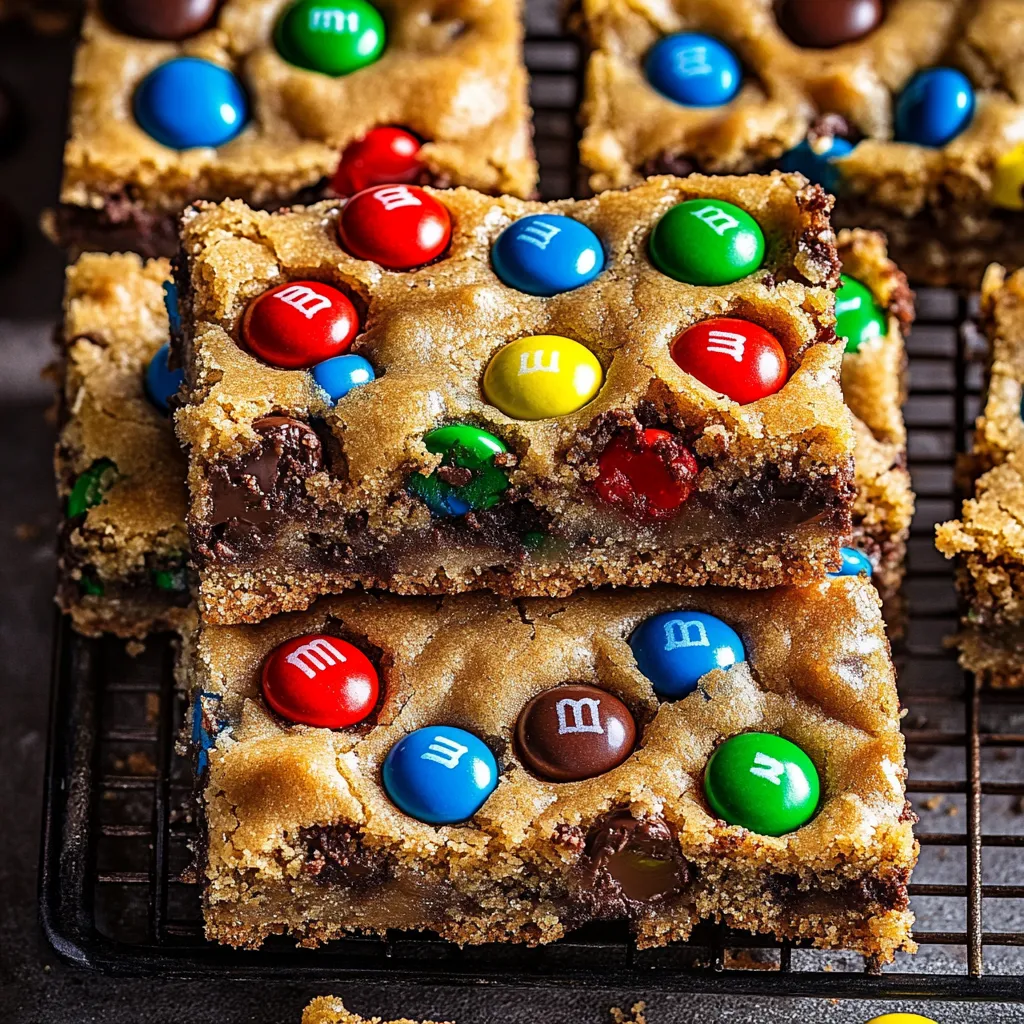
This classic M&M cookie bar recipe transforms ordinary baking ingredients into irresistible, chewy treats packed with colorful chocolate candies. The perfect balance of buttery cookie base and crunchy M&Ms creates a dessert that disappears faster than you can say "seconds please."
I first made these bars for my nephew's birthday party when I was running short on time. What started as a convenience recipe quickly became the most requested dessert at family gatherings. The simplicity combined with that classic cookie flavor keeps everyone coming back for more.
Ingredients
- Melted butter: Provides richness and creates that chewy texture we all crave in cookie bars
- Brown sugar: Adds moisture and a delightful caramel undertone that complements the chocolate
- Granulated sugar: Balances the brown sugar and helps create crisp edges
- Large eggs: Bind everything together while adding structure
- Vanilla extract: Enhances all the flavors without overwhelming
- All purpose flour: Gives the perfect structure; use unbleached for best flavor
- Baking soda: Provides just enough lift without making them cakey
- Salt: Balances the sweetness and enhances the chocolate flavor
- M&Ms: Bring color, playfulness, and chocolate in every bite
- Chocolate chips: Optional but add pockets of melty chocolate throughout
Step-by-Step Instructions
- Preheat and Prepare:
- Heat your oven to exactly 350°F as precision matters for even baking. Line your 9×13 pan with parchment paper leaving overhang on the sides for easy removal. The parchment prevents sticking and makes cleanup simple.
- Mix Wet Ingredients:
- Whisk the melted butter with both sugars until completely smooth with no sugar lumps remaining, about 2 minutes by hand. The mixture should look like wet sand. Add eggs one at a time, mixing thoroughly after each addition. Pour in the vanilla and mix until the batter looks glossy.
- Combine Dry Ingredients:
- Whisk your flour, baking soda, and salt in a separate bowl until evenly distributed. This ensures no one gets a bite with too much salt or baking soda. Add this dry mixture to your wet ingredients in three additions, stirring gently between each. Stop mixing as soon as no dry streaks remain to avoid tough bars.
- Fold in Candies:
- Use a rubber spatula to gently fold in the M&Ms and chocolate chips using a figure eight motion. Reserve about 1/4 cup of M&Ms for topping. The folding technique prevents breaking the candies and overworking the dough.
- Bake to Perfection:
- Spread the dough evenly in your prepared pan using an offset spatula to create a level surface. Sprinkle the reserved M&Ms on top, pressing them lightly into the dough. Bake until the edges are golden brown and the center is just set, about 25 minutes. The center might look slightly underdone but will set as it cools.
My favorite part of making these bars is sprinkling extra M&Ms on top before baking. My daughter always helps with this step, carefully arranging colors in patterns. These moments in the kitchen, creating something delicious together, have become treasured memories that mean far more than just cookies.
Storage Solutions
These cookie bars maintain their chewy texture for days when stored properly. Place them in an airtight container at room temperature with parchment paper between layers to prevent sticking. They'll stay fresh for up to 5 days though they rarely last that long in my house. For longer storage, freeze the cut bars in a single layer, then transfer to a freezer bag once solid. They thaw quickly at room temperature whenever you need a sweet treat.
Seasonal Variations
Transform these cookie bars for any occasion by simply switching up your M&M colors. Use red and green for Christmas, red and pink for Valentine's Day, pastel colors for Easter, or your favorite team colors for game day parties. You can also mix in crushed Oreos, pretzels, or nuts to create your own signature version. My family loves when I add a sprinkle of flaky sea salt on top right before baking to create a sweet and salty combination.
Serving Suggestions
While delicious on their own, these cookie bars reach new heights when served warm with a scoop of vanilla ice cream. For an impressive dessert platter, cut them into tiny squares and arrange with other cookies and brownies. They also make excellent ice cream sandwich bases when frozen briefly before filling with softened ice cream. Package individual bars in wax paper tied with string for bake sales or holiday gifts that everyone appreciates.
Recipe FAQs
- → How do I make my cookie bars thicker?
For thicker cookie bars, use an 8×8-inch pan instead of a 9×13-inch pan and increase the bake time by 5-7 minutes.
- → Can I use different candies instead of M&M’s?
Yes, you can substitute M&M’s with other candies such as Reese's Pieces, chopped chocolate bars, or any small candy-coated chocolates.
- → What’s the secret to chewy cookie bars?
Melting the butter and using a balance of brown and granulated sugars enhances the chewiness and gives a rich, caramelized flavor.
- → How do I store leftover cookie bars?
Keep them in an airtight container at room temperature for up to five days. For longer storage, freeze them in an airtight bag for up to three months.
- → Can I make these cookie bars ahead of time?
Yes, you can bake them a day in advance and store them at room temperature in an airtight container to maintain freshness.
- → What’s the best way to serve cookie bars?
These cookie bars are delicious as is or served slightly warm with a scoop of vanilla ice cream for an indulgent dessert.