
 Save
Save
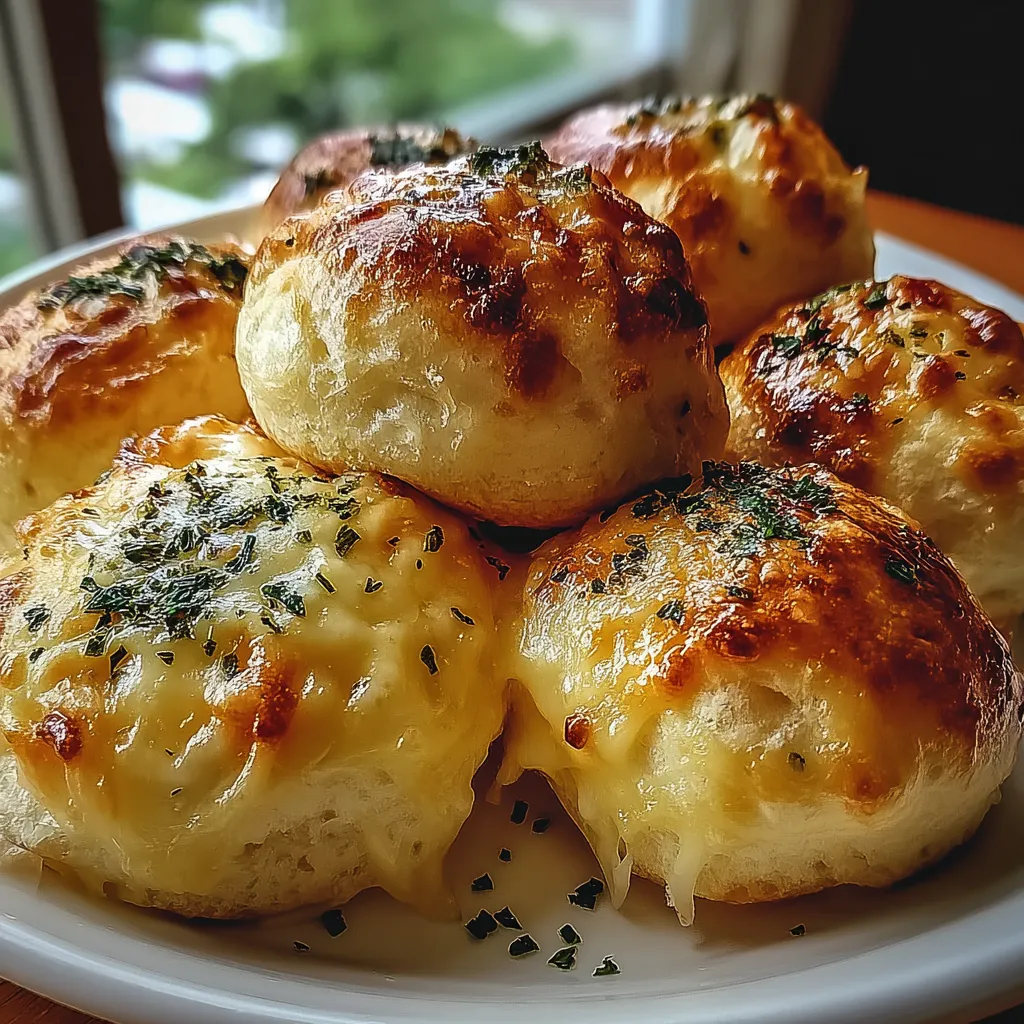
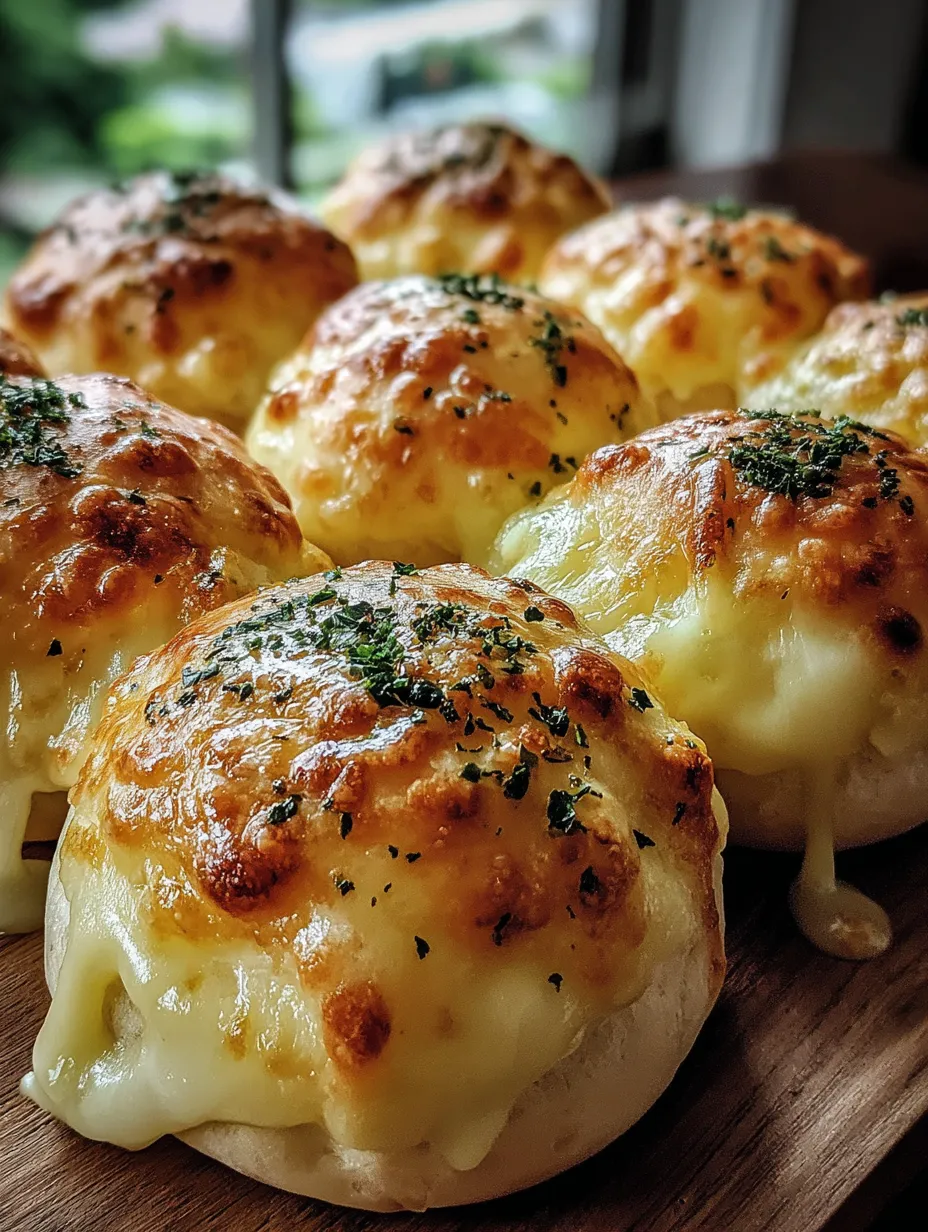
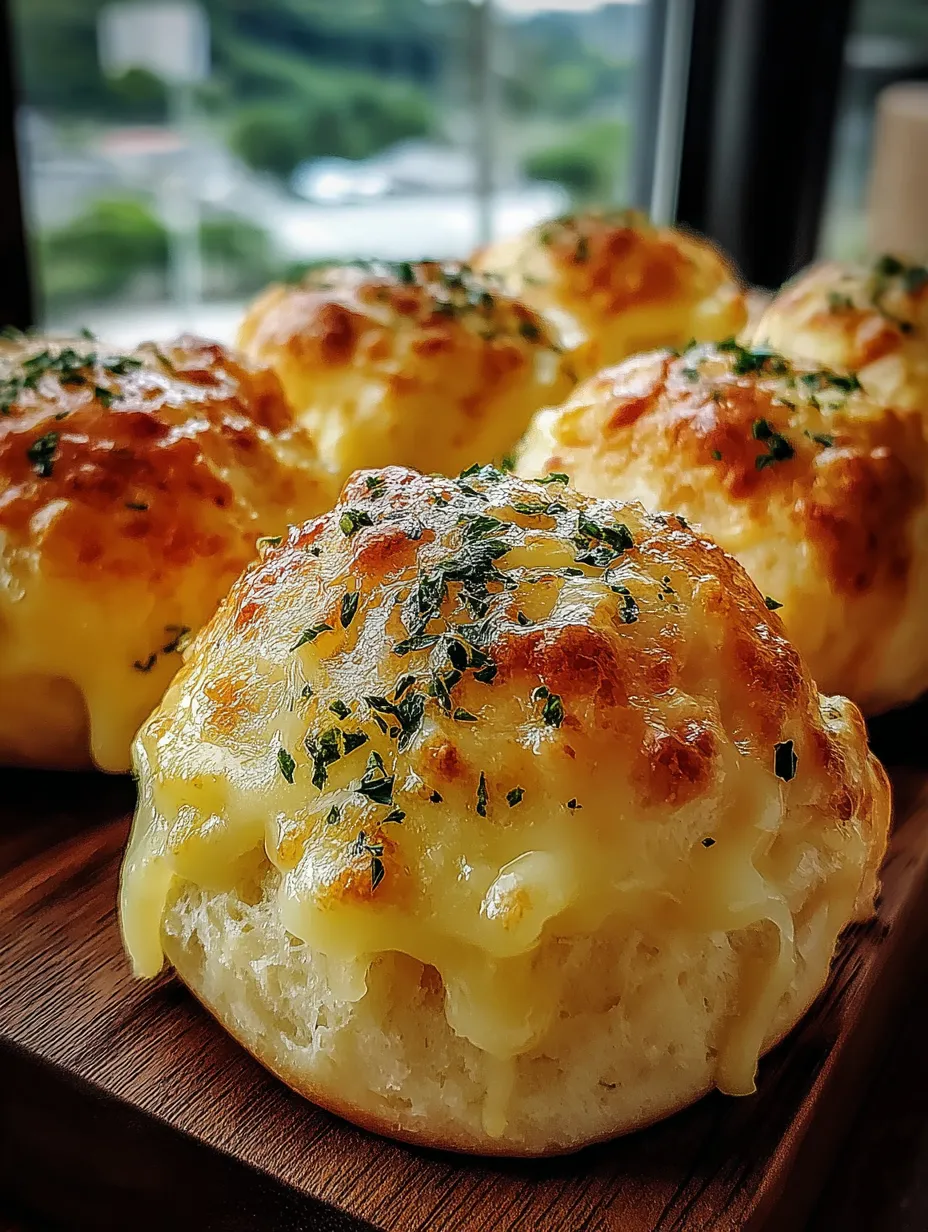
If you love easy comfort food that gets everyone reaching for seconds, these Pillsbury Biscuit Garlic Butter Cheese Bombs deliver pure cheesy joy. Perfect for gatherings or a cozy night in, they offer a crispy-on-the-outside, gooey-on-the-inside experience and take just half an hour from start to finish. With zero fuss and pantry-friendly ingredients, they are the go-to answer when you want maximum flavor with minimum effort.
The first time I made these was for a neighborhood potluck. They disappeared before anything else on the table. Now they are my usual solution for last minute party snacks and my kids ask for them on movie nights.
Ingredients
- Pillsbury refrigerated biscuits: You want the classic eight count not the flaky layers version
- Shredded mozzarella cheese: Gives the perfect gooey melt Choose a low moisture mozzarella for best pull
- Shredded cheddar cheese: Adds sharpness and color Always grate from a block for freshest flavor
- Unsalted butter: Use high quality for an extra rich flavor in both the bombs and garlic butter topping
- Garlic powder: Choose a pure garlic powder for best punch
- Onion powder: Adds subtle depth Look for a pale yellow color to ensure freshness
- Dried parsley: Brings color and a hint of herby taste Try to find bright green parsley not dull brown
- Salt: Opt for fine sea salt. I always keep a small pinch handy for sprinkling right before serving
- Black pepper: Use freshly ground for the best aroma and little flavor bursts
Step-by-Step Instructions
- Preheat the Oven:
- Set your oven to three hundred seventy five degrees Fahrenheit or one hundred ninety degrees Celsius. Line a baking sheet with parchment for easy cleanup or lightly grease it if you prefer a crispy base.
- Prepare the Biscuits:
- Pop open the package carefully as biscuit cans can surprise you. Gently separate the biscuits and use your hands or a rolling pin to flatten each into a round disk about a quarter inch thick. Do not overwork or you risk tough dough.
- Stuff the Biscuits:
- Add a generous tablespoon of mozzarella and cheddar to the center of each circle. Keep the cheese in the middle to prevent leaks as they bake.
- Seal and Shape:
- Gather the edges of each dough circle over the cheese. Pinch and twist to form a tight seam then roll gently into a smooth ball. Make sure there’s no visible opening or the cheese may bubble out.
- Arrange on Sheet:
- Place each ball seam side down on your prepared sheet spacing them about two inches apart. This helps them brown evenly and prevents sticking.
- Prepare Garlic Butter:
- Melt two tablespoons of unsalted butter in a small bowl. Stir in garlic powder parsley and salt until you have a fragrant mixture ready for brushing.
- Brush with Garlic Butter:
- Before baking give each ball a generous coating of your garlic butter mixture. Make sure to get all sides for the most flavor.
- Bake to Golden Perfection:
- Slide the tray into your hot oven. Bake for fifteen to twenty minutes watching for a deep golden brown color and puffy tops. If unsure check an extra minute for even browning.
- Serve while Hot:
- Let the cheese bombs cool on the tray for just two to three minutes so no one burns themselves. Serve them warm while the centers are perfectly gooey.
Cheesy bread has always been my weakness especially with garlic butter. I remember my younger brother and I making a whole tray for ourselves back in college movies in hand. Nothing brought us together faster than a hot pan fresh from the oven with that aroma filling the kitchen.
Storage Tips
If you have any leftovers which is rare store them in an airtight container. They stay fresh in the fridge for up to three days. Reheat in the oven or toaster oven at three hundred fifty degrees until warmed through which crisps the outside back up nicely. Avoid microwaving if you want to keep the exterior from turning soggy.
Ingredient Substitutions
You can swap mozzarella and cheddar for whatever melty cheese you love gouda provolone or Monterey jack work beautifully. If you do not have dried parsley fresh finely chopped parsley also delivers vivid flavor. Try a pinch of Italian seasoning for extra depth. For a dairy free version use plant based cheese and vegan butter.
Serving Suggestions
These bombs are perfect as is but they soar when dipped in warm marinara or ranch dressing. I love serving them alongside soups or pastas for a heartier meal. For a fancier touch sprinkle with a little extra grated cheese and fresh herbs just before serving. They are just as good for brunch as they are at a casual party.
Cultural Roots
These cheese bombs owe everything to the American love for pull apart breads and buttery biscuits. The shortcut of using store bought dough reflects busy family kitchens where convenience meets tradition. I think of them as a modern twist on garlic bread with echoes of southern biscuit baking and Italian cheese pulls all rolled up in one.
Recipe FAQs
- → Can I use a different type of cheese?
Yes, you can swap in your favorite melting cheeses like provolone, gouda, or a blend to change the flavor.
- → Is it okay to make these in advance?
You can assemble the bombs and refrigerate before baking. Bake right before serving for best results.
- → How do I prevent the cheese from leaking out?
Seal each biscuit tightly, pinching the edges well so the cheese stays contained as they bake.
- → Can I use homemade biscuit dough?
Absolutely, homemade dough works well—just keep pieces similar in size to the canned version for even baking.
- → What dips pair well with these cheese bombs?
Serve with marinara, ranch dressing, or garlic aioli for extra flavor and fun dipping options.