
 Save
Save
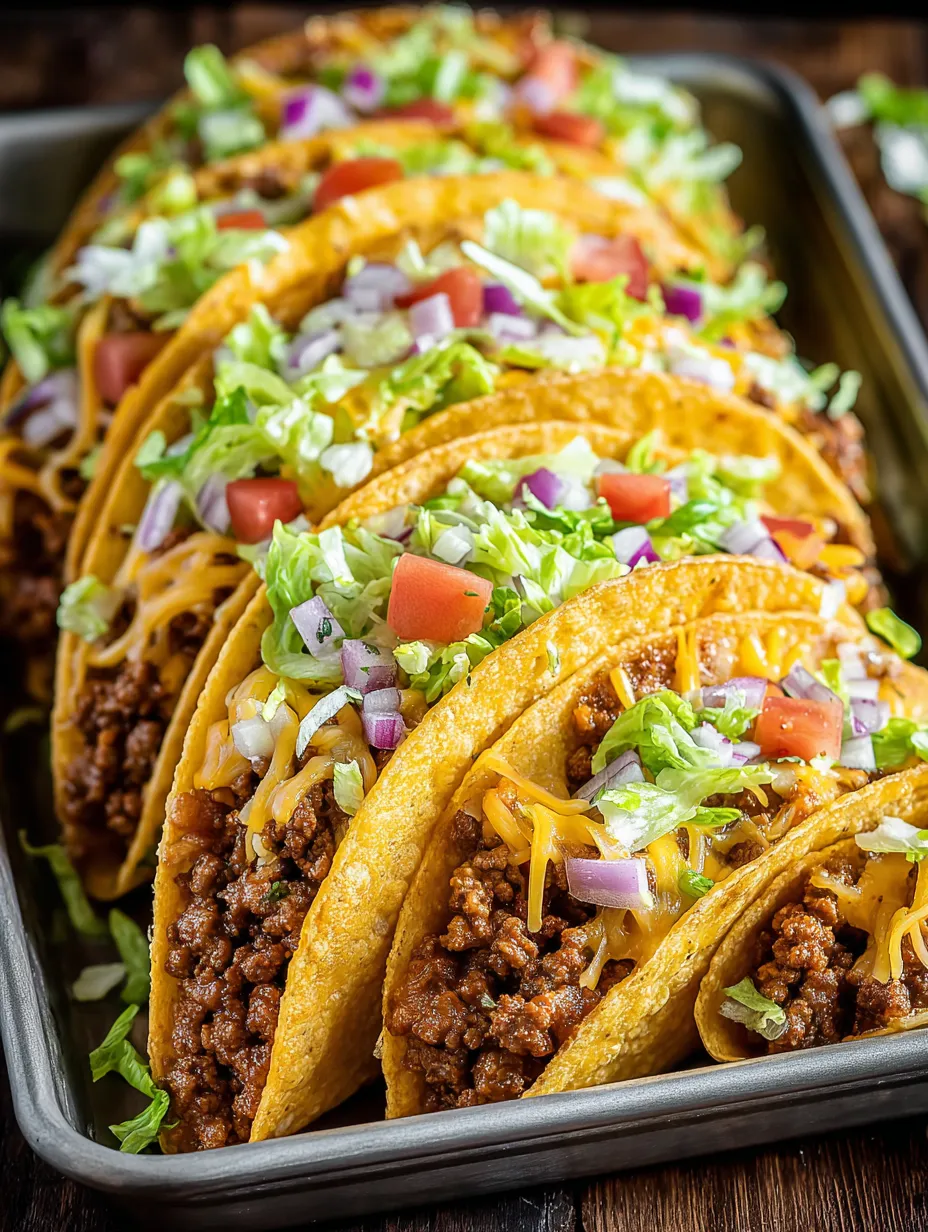
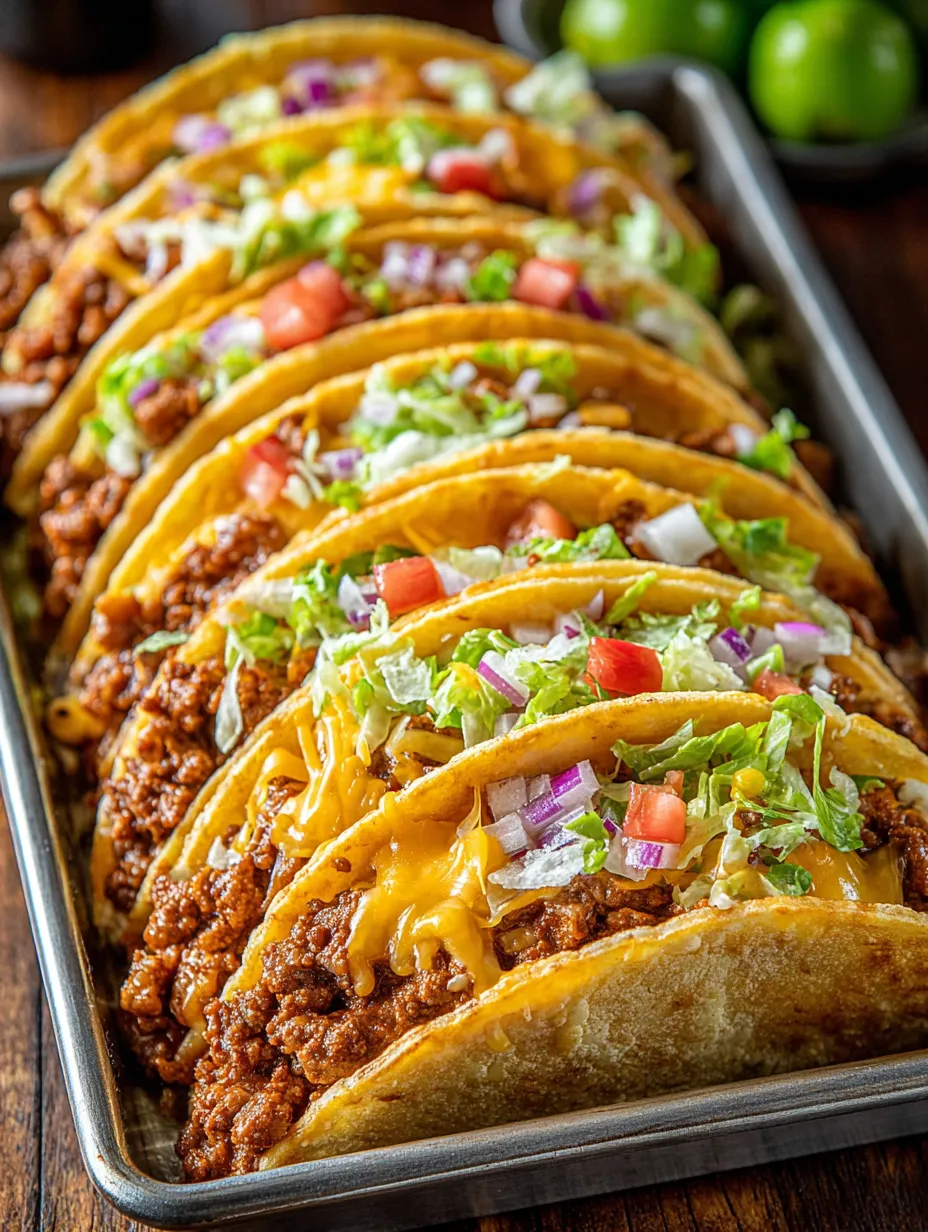
These oven-baked cheesy tacos are the answer to weeknight cravings or festive gatherings when you need something satisfying crowd-pleasing and just plain fun to eat. Imagine crispy taco shells packed with juicy seasoned beef and showered with bubbling cheese before being loaded up with all your favorite toppings. It is pure comfort food with a playful twist and it disappears fast anytime I serve it at home.
I discovered oven tacos last Super Bowl when my friends were tired of soggy shells. Since then everyone keeps asking for this version and it has become our new game day hit.
Ingredients
- Ground beef or turkey or chicken: brings rich filling protein to the dish. Choose fresh ground meat with a little fat for best flavor
- Olive oil: helps everything cook evenly and adds a hint of Mediterranean richness. Look for extra virgin olive oil if possible
- Onion and garlic: form the aromatic flavor base. Use firm onions and fresh garlic for the most impact
- Taco seasoning: gives classic taste appeal. Pick a quality store brand or try making your own blend from chili powder cumin and paprika
- Tomato sauce or salsa: keeps the filling juicy and adds tang. Choose a thick salsa or no-sugar tomato sauce for less mess
- Salt and pepper: balance the flavors throughout
- Small taco shells: either flour or corn create the signature crunch. Warm them slightly before filling so they do not crack
- Shredded cheddar or Mexican blend cheese: melts perfectly over the filling. Use freshly shredded for the stretchiest results
- Shredded lettuce diced tomatoes and red onion: give a cool crisp contrast on top. Opt for firm ripe veggies for best results
- Fresh cilantro: adds a burst of herbal freshness. Chop right before using for vivid flavor
- Optional toppings like sour cream jalapenos guacamole or hot sauce: let everyone make their own perfect bite
Step-by-Step Instructions
- Prep the oven and dish:
- Set your oven to 375°F or 190°C. Lightly coat a baking dish with olive oil or lay down a sheet of foil so cleanup is easy later
- Build the flavor base in a skillet:
- Pour olive oil into a skillet and place over medium heat. Add your chopped onion and minced garlic then stir for about three minutes until the aroma fills your kitchen and the onion looks translucent. This step gives so much flavor depth to the meat
- Brown and season the meat:
- Crumble ground beef poultry or turkey into the skillet. Cook it slowly breaking up the pieces and letting any juices evaporate so the meat browns rather than steams. When mostly cooked sprinkle the taco seasoning over top stir well then pour in tomato sauce or salsa. Scoop in a small pinch of salt and a crack of pepper. Let the mixture simmer for five minutes so the flavors meld and it thickens slightly
- Fill and assemble the tacos:
- Take your warmed taco shells and arrange them standing upright in the prepared baking dish. Spoon generous heaps of the meat mixture into each shell making sure to get some sauce in every bite. Sprinkle lots of shredded cheese onto every taco so each one is fully covered
- Bake until crispy and golden:
- Slide the dish into the oven and bake for ten to fifteen minutes. Watch for the cheese to become golden and the shells to turn a little crispy at the edges. That is your cue they are ready
- Finish with fresh toppings:
- Carefully pull the hot dish from the oven. Scatter freshly shredded lettuce chopped tomato red onion and cilantro over the tacos. Offer optional toppings alongside so everyone can customize their plate
My favorite ingredient is always fresh cilantro. When I sprinkle it over the oven-hot tacos the fragrance lets everyone know dinner is ready. My kids insist the best memories happen around the table with a pan of these cheesy tacos
Storage Tips
To save leftovers let the tacos cool to room temperature first. Store them in an airtight container in the refrigerator for up to three days. Reheat in a hot oven until the shells are crisped again. Avoid microwaving as this can make the shells soggy.
Ingredient Substitutions
You can swap in ground turkey or chicken for the beef to lighten things up. Vegetarian crumbles or seasoned beans work well if you are skipping meat. For cheese use Monterey Jack Colby or a blend if you are out of cheddar. Corn tortillas keep this gluten free and add extra crunch.
Serving Suggestions
Set up a big tray with all the optional toppings and some lime wedges so guests can build their own plate the way they like. Serve alongside a crisp slaw corn salad or a simple guacamole for a fun taco bar feel. This is also great for casual dinners with friends.
Cultural and Historical Context
Tacos have a rich history in Mexican cuisine known for being handy portable meals filled with anything available locally. The oven-baked version is a modern American twist developed for family style eating and quick entertaining turning the humble taco into a one-pan feast.
Recipe FAQs
- → How do I keep taco shells crispy in the oven?
Arrange taco shells upright and avoid overfilling them before baking. Lightly greasing the baking dish also helps maintain a crunchy texture.
- → Can I use ground turkey or chicken instead of beef?
Absolutely! Both ground turkey and chicken work well as a lighter alternative to beef while still being flavorful when seasoned properly.
- → Are flour or corn tortillas better for baking?
Both can be used, but corn tortillas become extra crispy, while flour tortillas offer a softer crunch. Choose based on your texture preference.
- → How can I add more flavor to the filling?
Sauté onions and garlic until fragrant, use a robust taco seasoning blend, and add salsa or tomato sauce for depth and moisture in the filling.
- → What are the best toppings for these tacos?
Fresh toppings like lettuce, tomatoes, red onion, cilantro, and optional extras such as sour cream, guacamole, or hot sauce add flavor and texture variety.
- → Can I prepare these tacos ahead of time?
Yes, assemble the tacos and refrigerate them unbaked. Bake when ready to serve for maximum crispiness and freshness.